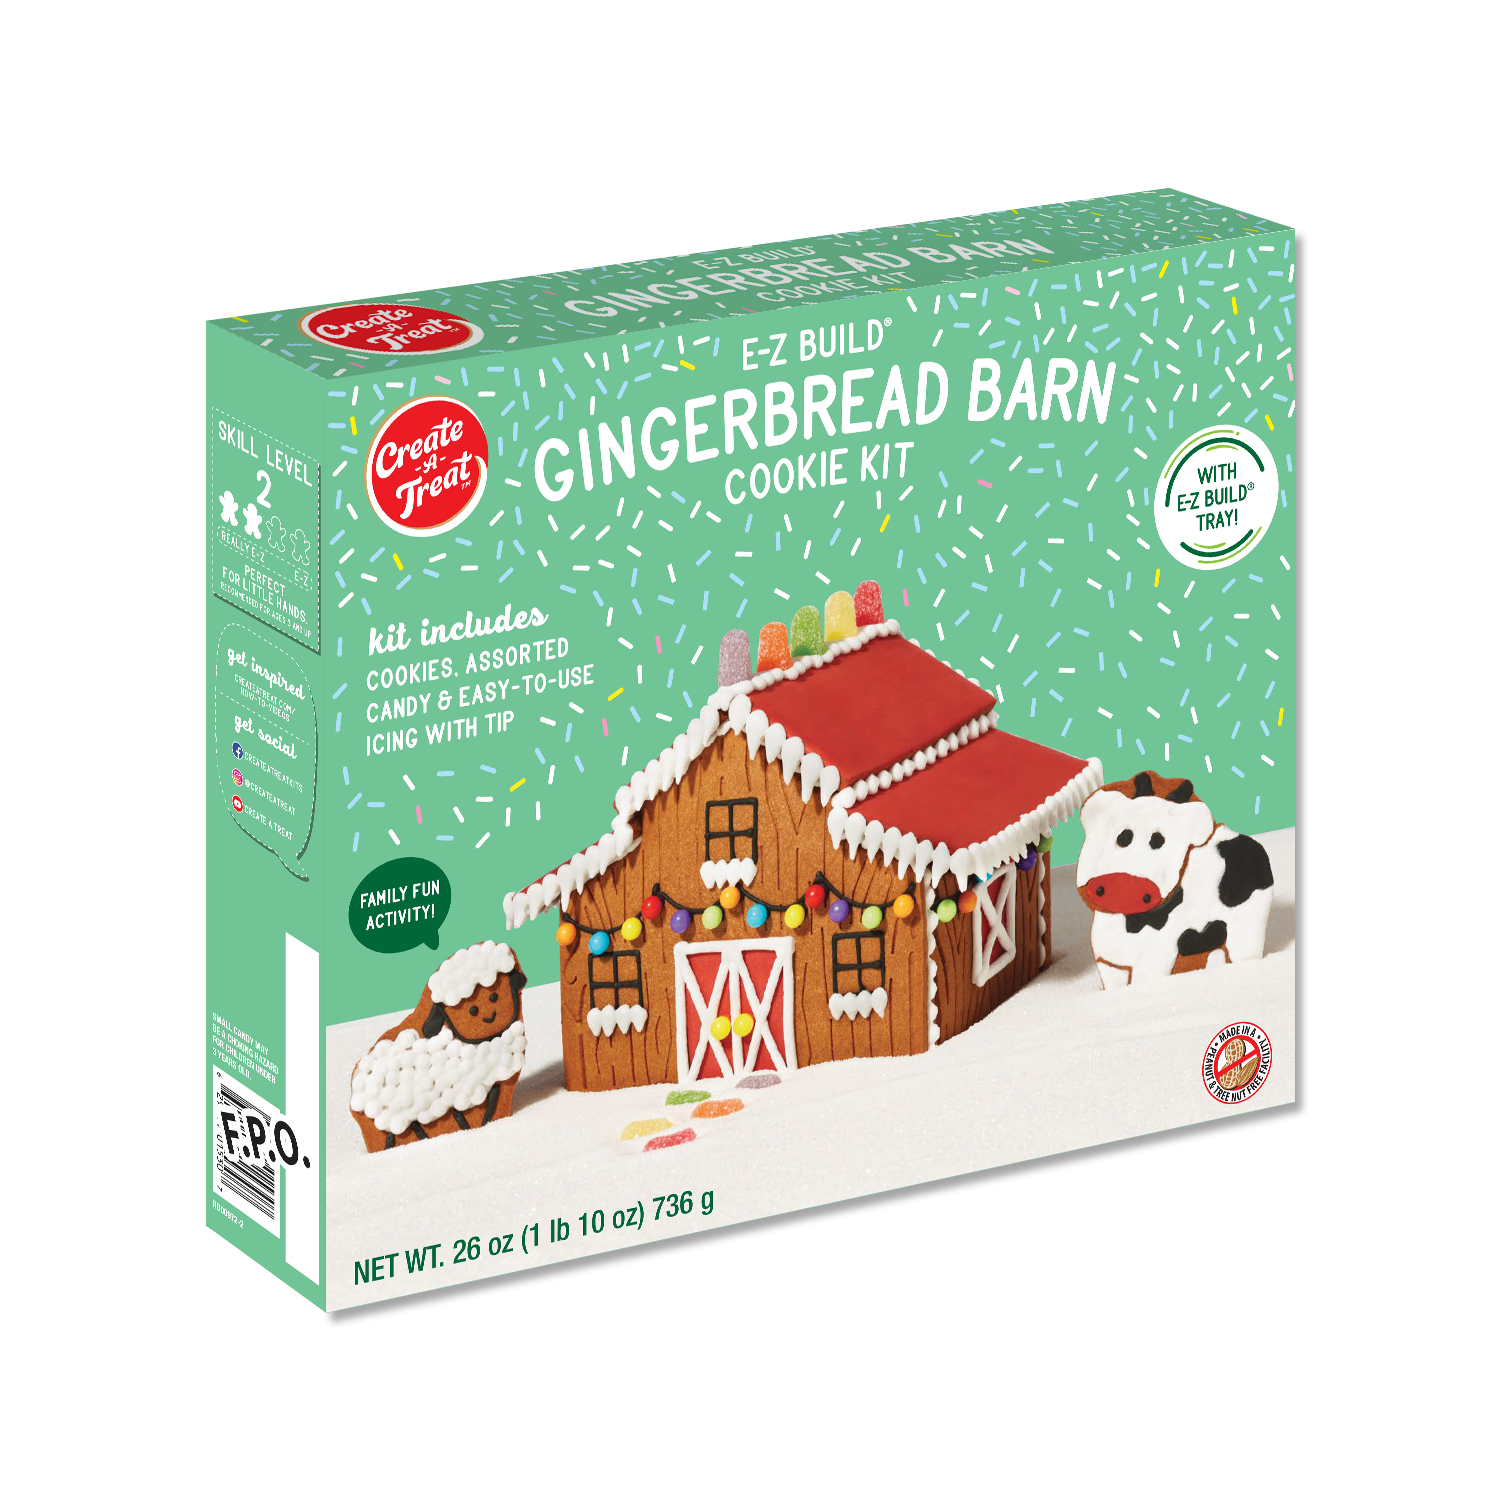
Pre-Baked Cookies
Pre-Made Icing
Assortment of Candies
Step-By-Step
Step 1: Icing Pouch Preparation
Knead the icing pouch for 1-2 minutes bringing icing to room temperature and making it more adhesive. To start the flow of icing, remove the cap and snip 1/4 from the top of the tip. Be sure not to cut the opening too large. Your icing is now ready to use.
Step 2: Arrange House Pieces for Assembly
Lay out the house pieces on the table with the front and back panels face down. To ensure there is enough icing to stick the pieces, pipe a zigzag of icing along the edges of the front and back panel as shown. Line the 4 canals of the E-Z Build Tray with a zigzag of icing.
Step 3: Erect Walls
Place back panel of house into the canal of the E-Z build tray. Then press the side wall up against the icing strip on back panel. Repeat this process with the second side wall. Then front panel. Adjust walls to create a good rectangle prior to putting on roof pieces.
Step 4: Apply Icing to House Peaks
Pipe a zigzag of icing along roof edges of front and back panels.
Step 5: Add roof
Attach roof panels to house peaks and hold in place for one minute. Add a zigzag of icing between roof pieces. Hold in place for another minute while icing sets. Wait 15 minutes prior to decorating your house.
Step 6: Icing Pouch Preparation
Knead the icing pouch for 1-2 minutes bringing icing to room temperature and making it more adhesive. Cut a small opening at a corner and gently squeeze.
Step 7: Decorate
You are now ready to decorate your house!