Reese’s™ Holiday House Kit

This Product Contains

Pre-Baked Cookies

Pre-Made Icing

Assortment of Candies

Step-By-Step

Step 1: Icing Pouch Preparation

Knead the icing pouch for 1-2 minutes bringing icing to room temperature and making it more adhesive. To start the flow of icing, remove the cap and snip 1/4 from the top of the tip. Be sure not to cut the opening too large. Your icing is now ready to use.

Step 2: Arrange House Pieces for Assembly

Lay out the house pieces on the table with the front and back panels face down. To ensure there is enough icing to stick the pieces, pipe a zigzag of icing along the edges of the front and back panel as shown. Line the 4 canals of the E-Z Build Tray with a zigzag of icing.

Step 3: Erect Walls

Place back panel of house into the canal of the E-Z build tray. Then press the side wall up against the icing strip on back panel. Repeat this process with the second side wall. Then front panel. Adjust walls to create a good rectangle prior to putting on roof pieces.

Step 4: Apply Icing to House Peaks

Pipe a zigzag of icing along roof edges of front and back panels.

Step 5: Add roof

Attach roof panels to house peaks and hold in place for one minute. Add a zigzag of icing between roof pieces. Hold in place for another minute while icing sets. Wait 15 minutes prior to decorating your house.

Step 6: Icing Pouch Preparation

Knead the icing pouch for 1-2 minutes bringing icing to room temperature and making it more adhesive. Cut a small opening at a corner and gently squeeze.

Step 7: Decorate

You are now ready to decorate your house!

Cookies for Santa Cookie Kit

This Product Contains

Pre-Baked Cookies

Pre-Made Icing

Assortment of Candies

Step-By-Step

Step 1: ICING POUCH PREPARATION:

Remove pre-made icing from kit. Knead / massage the icing pouch for 1-2 minutes bringing icing to room temperature and making it more adhesive. CUTTING THE OPENING: Cut a small opening at a corner and gently squeeze. Repeat this step with Red Icing pouch.

Step 2: ARRANGE BOX PIECES FOR ASSEMBLY:

Lay out cookie pieces on the table. Separate cookie pieces by gently breaking along the snap lines between sections.

Step 3: PREPARE COOKIES FOR ASSEMBLY:

Pipe a zigzag of icing in a “U” shape along the front of the Santa cookie. Back of the “Cookies” Cookie, and bottom of the 2 side wall cookies, as shown.

Step 4: ASSEMBLE BOX:

Gently press base cookie against icing strip on the bottom of the Santa cookie to attach. Next press one side wall up against icing as shown. Repeat with second wall and then the front cookie. Adjust walls to create a square box. Wait 15 minutes for icing to set before decorating your box.

Step 5: ICING WRITER INSTRUCTIONS:

Carefully cut the end of the icing writer in small amounts, as shown above. Do not cut too large or you will lose detail when decorating.

Step 6: DECORATE:

Your are now ready to decorate your cookies for Santa!

Batman™ Wayne Manor Cookie Kit

This Product Contains

Pre-baked Cookies

Pre-Made Icing

Assortment of candies

Step-By-Step

Step 1: ICING POUCH PREPARATION:

Remove pre-made icing from kit. Knead / massage the icing pouch for 1-2 minutes bringing icing to room temperature and making it more adhesive. CUTTING THE TIP: Remove cap and snip the tip 1/4″ from the end. Your icing is now ready to use.

Step 2: ICING WRITER PREPARATION:

Carefully cut the end of the writer, as shown.

ICING POUCH PREPARATION: Knead / massage the icing pouch for 1-2 minutes bringing icing to room temperature and making it more adhesive.

Step 3: SEPARATE PIECES:

Separate individual panels by gently breaking along snap lines. *Cardboard pad containing cookies may be used as a base for setting up your scene.

Step 4: DECORATE:

Decorate the House pieces, Gate, Bat Signal, Batmobile, and Batman cookies with icing and candy. Allow to dry.

Step 5: ARRANGE PIECES FOR ASSEMBLY:

Place the center house panel face down. To ensure there is enough icing to stick the pieces, pipe a zigzag of icing along the edges of the house panels and support pieces as shown.

Step 6: ERECT HOUSE:

Place center house panel onto the pad, then press support piece up against icing on house panel. Repeat process with second support piece. Pipe a zigzag of icing on the exposed edge of the support piece and along the bottom edge of each side house piece. Attach left house panel to the pad, pressing up against icing on support piece, as shown. Repeat with right house panel. Hold in place for 1 minute.

Step 7: ASSEMBLE BATMOBILE:

Pipe a zigzag of icing along both side edges of each Batmobile spacer. Assemble Batmobile, as shown.

Step 8: ATTACH STANDS:

Attach stands to the back of the Gate and Batman figure with icing. Secure the Bat Signal cookie to the back of the house and secure the Entrance cookie to center of the Main house with icing. Continue decorating, as desired.

Sweet Heart Chocolaty Kit

Step-By-Step

Step 1: Icing Pouch Preparation

Knead the icing pouch for 1-2 minutes bringing icing to room temperature and making it more adhesive. Cut a small opening at a corner and gently squeeze.

ICING WRITER PREPARATION: Carefully cut the end of the writer, as shown.

Step 2: Arrange pieces for assembly

Layout one heart cookie on the table face down. Separate the spacer pieces by gently breaking along the snaplines between sections. Pipe a zig zag of icing on 3 of the cookies pacers as shown.

Step 3: Assembly

Stick the cookie spacers together into 3 sandwiches. Pipe a zigzag of icing to bottom of one spacer sandwich and attach along the bottom of heart. Attach remaining spacers with icing, as shown.

Step 4: Apply icing

Pipe a zigzag of icing on spacers, then attach remaining heart cookie as shown.

Step 5: Decorate

Wait 15 minutes for icing to set. Then, stand heart box upon the flat bottom edge. You are now ready to decorate your heart box, and fill with Valentine’s treats as desired!

Sour Patch Kids® Halloween Fun House Chocolate Cookie Kit

This Product Contains

Pre-Baked Cookies

Pre-Made Icing

Assortment of Candies

Step-By-Step

Step 1: Icing Pouch Preparation

Knead/massage the icing pouch for 1-2 minutes bringing icing to room temperature and making it more adhesive. Cutting the icing tip: Remove cap and snip the tip 1/4″ from the end. Your icing is now ready to use.

Step 2: Icing Writer Preparation

Carefully cut the end of the writer, as shown.

Step 3: Separate Cookies

Carefully separate cookies along break lines.

Step 4: Decorate

Decorate Fun House, pumpkin entrance, stairs, and ticket booth with icing and candy, reserving some of the Green pouch icing for assembly. Let icing dry for 15 minutes before assembling.

Step 5: Fun House Assembly

With the Fun House lying flat, apply a zigzag of icing to the back of each stair cookie and stack on top of the right side of the Fun House, in order from tallest (piece 1) to shortest (piece 4), lining up the flat bottom edges with the bottom edge of the Fun House.

Step 6: Pumpkin Entrance

Apply a zigzag of icing to the edge of two small support pieces and attach to the back of the pumpkin. Add a zigzag of icing to the remaining edge of each support piece and attach to the front of the Fun House. Hold in place for 2 minutes.

Step 7: Ticket Booth Assembly

Apply a zigzag of icing to one edge of the remaining two support pieces and attach to the back of the ticket booth. Hold in place for 2 minutes.

Step 8: Decorate

Continue decorating as desired.

Gingerbread Village Kit

This Product Contains

Pre-Baked Cookies

Pre-Made Icing

Assortment of Candies

Step-By-Step

Step 1: Icing Bag Preparation

Knead/massage the icing pouch for 1-2 minutes bringing icing to room temperature and making it more adhesive. Cutting the icing tip: Remove cap and snip the tip 1/4″ from the end. Your icing is now ready for assembling the village

Step 2: Getting Started

Separate the 5 mini village houses into individual panels by gently breaking along the snap lines between sections. Be sure not to mix up house pieces. *Cardboard tray containing components may be used as a base for setting up your mini village display.

Step 3: Building Assembly

Line the four edges of the ‘A’ panels with icing. Line the top and bottom edges of B’ panels. Press pieces together to assemble house as shown.

Step 4: Regular House Assembly

Line the top and bottom edges of both ‘A’ panels with icing. Line the sides and bottoms of both ‘B’ panels with icing. Press pieces together to assemble house as shown.

Step 5: Toy Workshop Assembly

Line the top and bottom edges of both ‘A’ panels with icing. Line all four edges of both ‘C’ panels with icing. Assemble the four walls as shown. Place roof section ‘D’ on the right side followed by the two ‘B’ roof sections.

Step 6: Gabled House Assembly

Line the top and bottom edges of both ‘A’ panels with icing. Line the sides and bottom edges of ‘B’ panels. Assemble the house as shown.

Step 7: Chalet Assembly

Line the sides of the ‘A’ panels with icing as shown. Attach roof panels ‘B’ as shown.

Step 8: Decorate

Decorate with icing and candies for a delicious mini village.

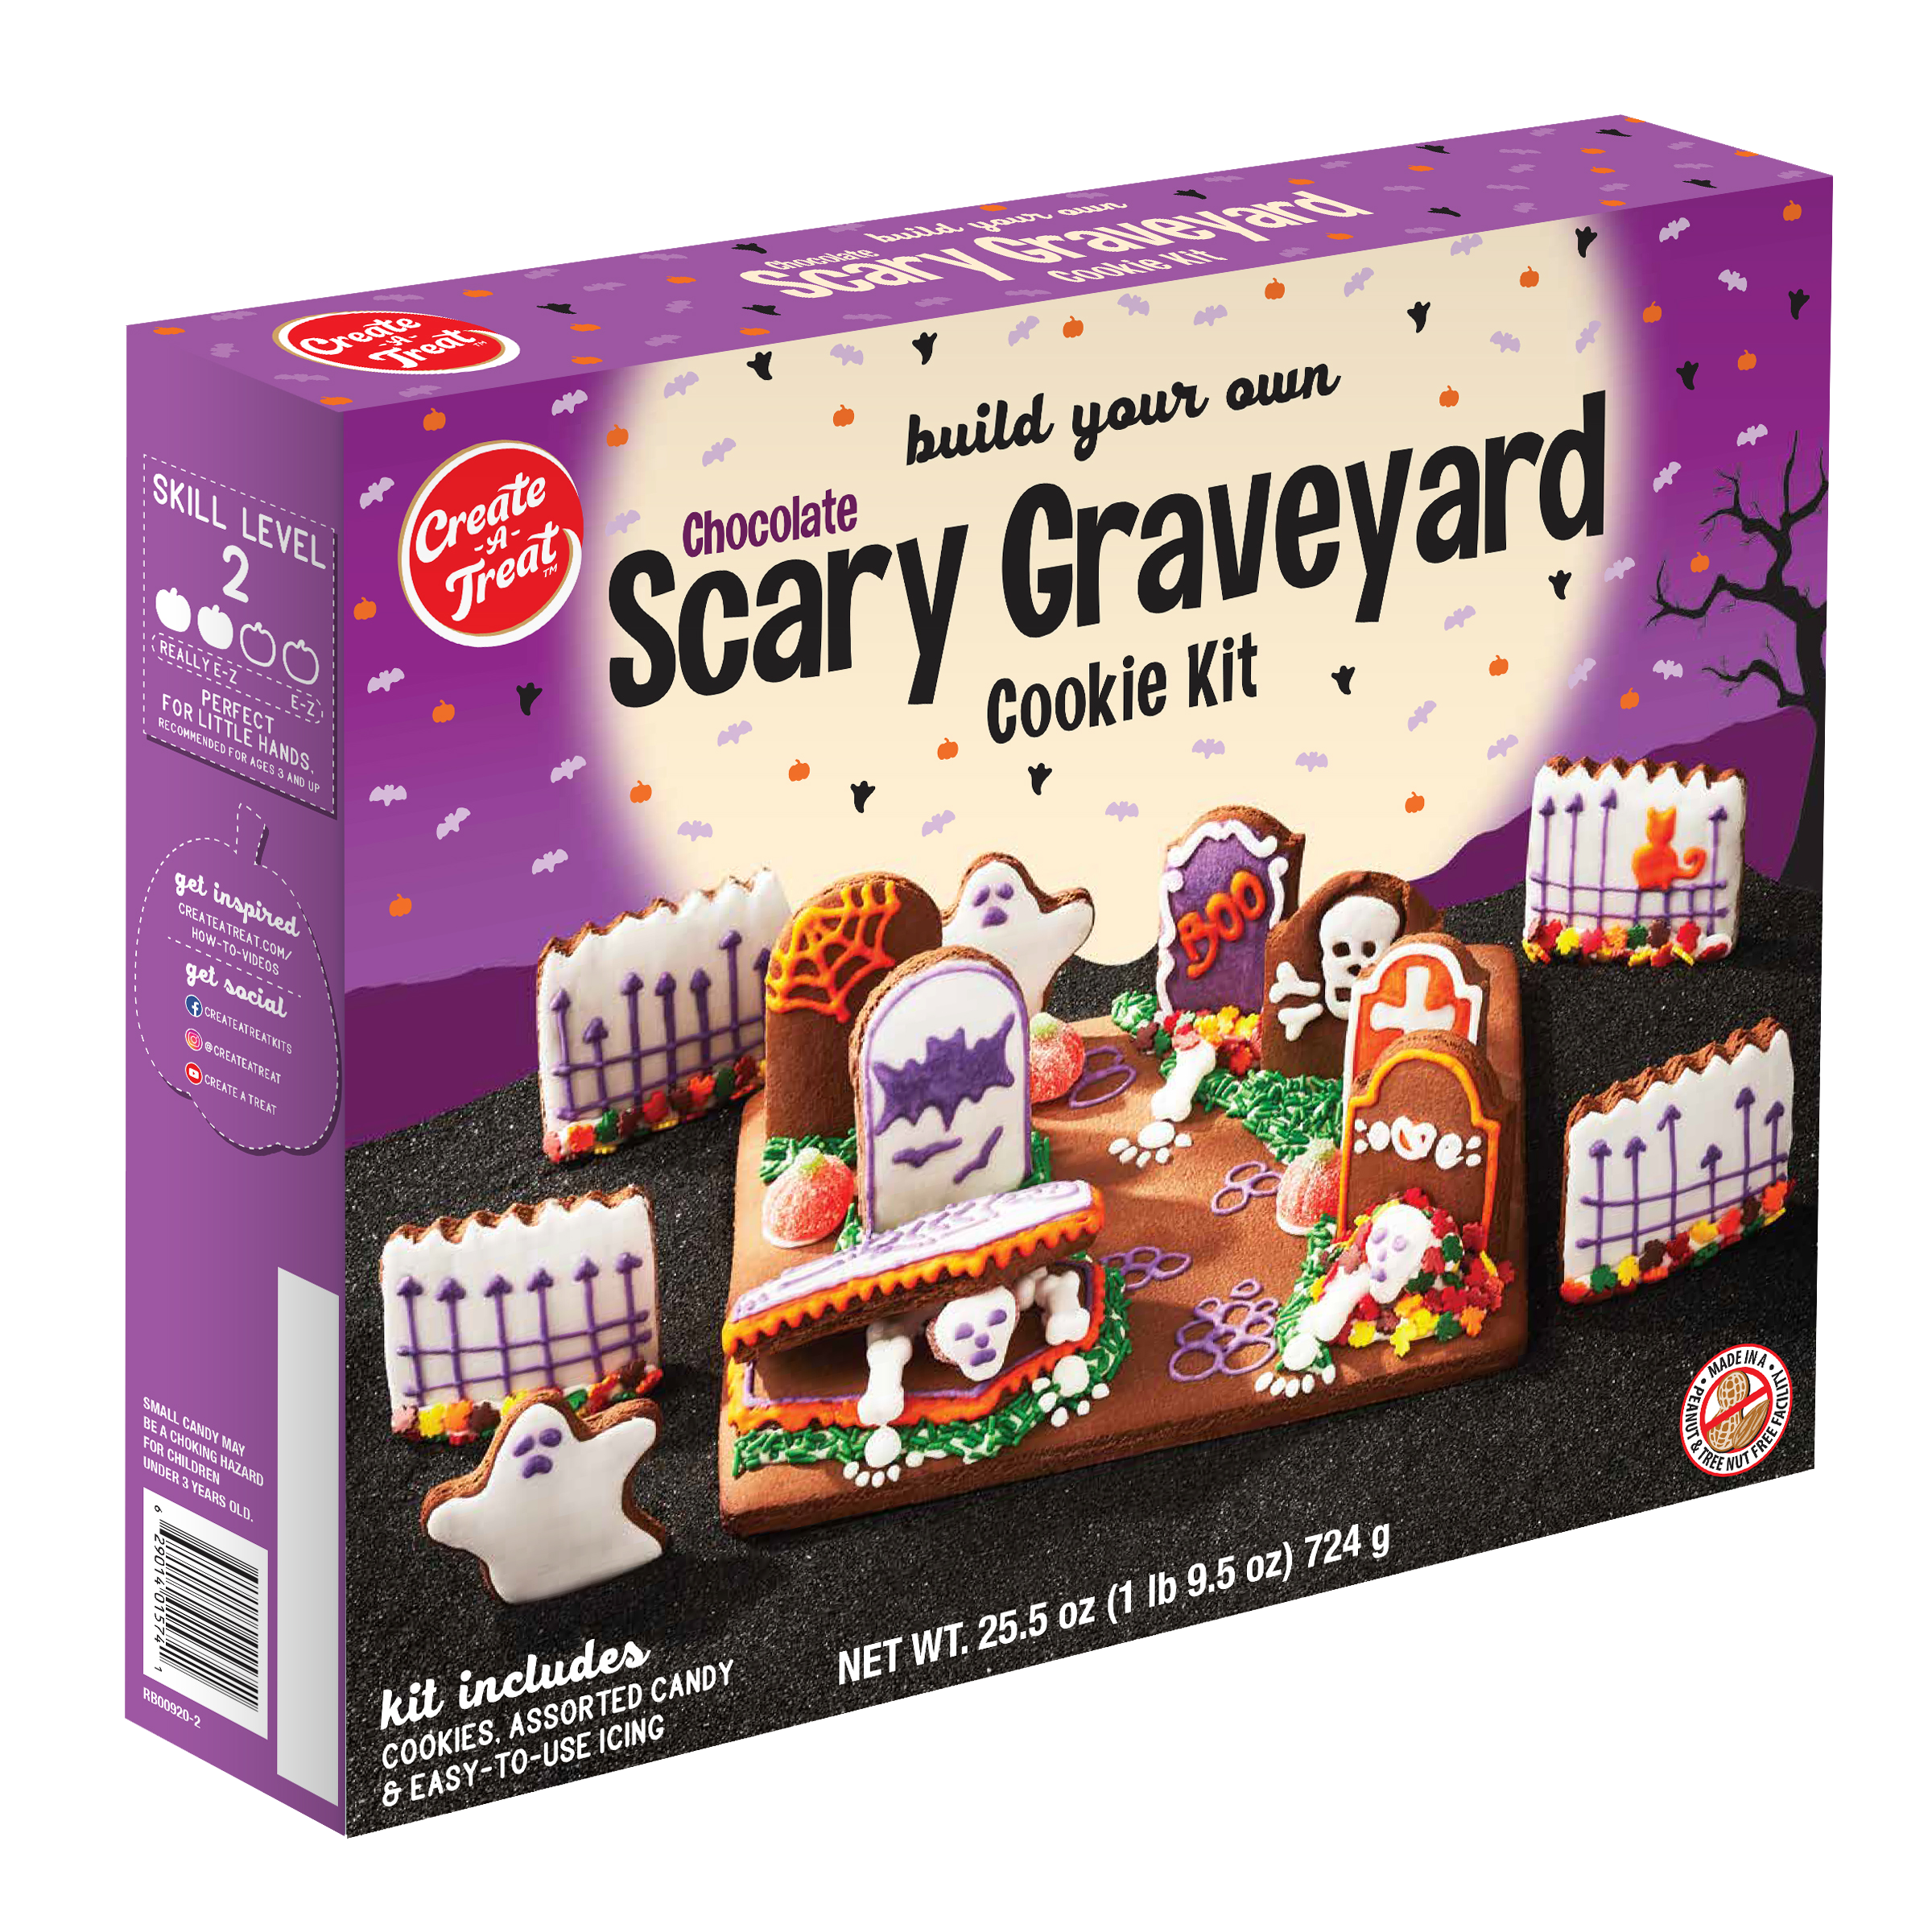
Scary Chocolate Graveyard Cookie Kit

This Product Contains

Pre-baked Cookies

Pre-Made Icing

Assortment of Candies

Step-By-Step

Step 1: Icing Pouch Preparation

From kit. knead/ massage icing pouch for 1-2 minutes bringing icing to room temperature and making it more adhesive. Cutting the icing tip: remove cap and snip 1/4″ from the end. your icing is now ready for assembling the graveyard.

Step 2: Separate Panels

Separate individual panels by gently breaking along snap lines.

Step 3: Icing writer instructions

Carefully cut the end of the icing writer, as shown.

Step 4: Decorate

Decorate gravestones, ghosts and fences with icings and candy. Allow to dry.

Step 5: Attach

Attach to cookie base with white icing and continue decorating as desired.

Medium Gingerbread Village Kit

This Product Contains

Pre-Baked Cookies

Pre-Made Icing & Building Tools

Assortment of Candies

Step-By-Step

Step 1: Icing Bag Preparation

Knead/massage the icing pouch for 1-2 minutes bringing icing to room temperature and making it more adhesive. Cutting the icing: Cut a small opening at a corner and gently squeeze. Your icing is now ready for assembling the village.

Step 2: Arrange house pieces for assembly

Separate the house pieces by gently breaking along the snap lines between sections. Lay out house pieces on the table with the front and back panels face down. Pipe a zigzag of icing along the edges of the front and back panels as shown.

Step 3: Erect Walls

Press side wall up against icing on back panel. Repeat process with second side wall. Then front panel. Adjust walls to create a good rectangle prior to putting on roof pieces.

Step 4: Apply icing to house peaks

Pipe a zigzag of icing along roof edges of front and back panels.

Step 5: Add Roof

Attach roof panels to house peaks and hold in place for one minute. Add a zigzag of icing between roof pieces. Hold in place for another minute while icing sets and repeat this process. Wait 15 minutes prior to decorating your village.

Step 6: Decorate

You are now ready to decorate your village!

Hershey’s® Chocolate Bunny Basket Cookie Kit

This Product Contains

Pre-Baked Cookies

Pre-Made Icing

Assortment of candies

Step-By-Step

Step 1: Icing Pouch Preparation

Knead the icing pouch for 1-2 minutes bringing icing to room temperature and making it more adhesive. To start the flow of icing, remove the cap snip 1/4 from the top of the tip. Be sure not to cut the opening too large. Your icing is now ready to use.

Step 2: Lay out the cookies

Lay out all of the cookies. Separate basket pieces by gently breaking along the snap lines between sections.

Step 3: Apply icing

Pipe a zigzag of icing along the perimeter of the basket base as shown.

Step 4: Assemble

Line up each square with the border of icing on the basket base. Be careful to place each square with the basket weave pattern facing outward. Pipe icing between squares to secure the structure.

Step 5: Decorate

Decorate your bunny and eggs while icing sets on your basket.

You are now ready to decorate your basket!

FRIENDS Central Perk Cookie Kit

This Product Contains

Pre-baked Cookies

Pre-Made Icing

Assortment of Candies

Step-By-Step

Step 1: Icing Pouch Preparation

Knead/massage the icing pouch for 1-2 minutes bringing icing to room temperature and making it more adhesive. Cutting the icing tip: Remove cap and snip the tip 1/4″ from the end. Your icing is now ready to use.

Step 2: Separate Pieces

Separate individual panels by gently breaking along snap lines. Tip: Cardboard pad containing cookies may be used as a base for setting up your scene.

Step 3: Icing Writer Preparation

Carefully cut the end of the writer, as shown.

Step 4: Decorate

Decorate the walls and cookie figures with icing and candy. Reserve enough icing to build and trim your cafe. Allow to dry.

Step 5: Erect Entrance Wall

Attach triangle stands to the back of the entrance wall. Line the bottom edge with icing and secure to base. Pipe a line of icing near the right edge of the wall.

Step 6: Erect Central Perk Wall

Attach a rectangle stand to the back of the Central Perk wall, near the left side. Line the bottom edge with icing and press wall up against icing strip on entrance panel while securing to base.

Step 7: Attach Stands

Attach coffee table base with icing. Attach stands to couch, taxi and logo cookie with icing. Continue decorating as desired.

HERSHEY’S Chocolate Cookie Factory Kit

This Product Contains

Pre-Baked Cookies

Pre-Made Icing & Building Tools

Assortment of Candies

Step-By-Step

Step 1: Icing Pouch Preparation

Knead/massage the icing pouch for 1-2 minutes bringing icing to room temperature and making it more adhesive. Cutting the icing tip: Remove cap and snip the tip 1/4″ from the end. Your icing is now ready to use.

Step 2: Icing Writer Preparation

Carefully cut the end of the writer, as shown.

Step 3: Decorate

Lay out factory pieces on the table. Separate pieces by gently breaking along the snap lines between sections. Decorate the front, back wall, roof and character pieces with candy and icing. Allow to dry before assembling.

Step 4: Assembly

Pipe a zigzag of icing near the side edges of the back panel and along the bottom edges of the back and side panels as shown. Place back panel of factory onto the pad, then press side wall up against icing on back panel. Repeat process with second side wall.

Step 5: Add Front

Pipe a zigzag of icing along the edge of the left wall and attach the front panel as shown.

Step 6: Add Roof

Pipe a zigzag of icing along the top edges of the factory and attach the roof as shown.

Step 7: Add Stands

Attach stands to the back of your character with icing. Continue decorating as desired.

Gingerbread Sleigh & Reindeer Cookie Kit

This Product Contains

Pre-Baked Cookies

Pre-Made Icing & Building Tools

Assortment of Candies

Step-By-Step

Step 1: Icing Pouch Preparation

Knead/massage the icing pouch for 1-2 minutes bringing icing to room temperature and making it more adhesive. Cutting the icing: Cut a small opening at a corner and gently squeeze.

Step 2: Lay out Cookie Pieces

Lay out cookie pieces on a flat surface. Pieces can hold together on their own. For extra stability, Add a dot of icing in each notch as you build.

Step 3: Build Sleigh

Hold both side pieces of the sleigh. Insert the back of the sleigh in the notches. Repeat with front cookie.

Step 4: Continue building

Insert Reindeer’s back leg in the body notch. Repeat with front leg.

Step 5: Icing writer preparation

Carefully cut the end of the writer, as shown.

Step 6: Decorate

You are now ready to decorate!