OREO® Spooky Castle Cookie Kit

This Product Contains

Pre-Baked Cookies

Pre-Made Icing

Assortment of Candies

Step-By-Step

Step 1: ICING POUCH PREPARATION:

Remove pre-made icing from kit. Knead / massage the icing pouch for 1-2 minutes bringing icing to room temperature and making it more adhesive. CUTTING THE TIP: Remove cap and snip the tip 1/4″ from the end. Be sure not to cut the opening too large. Your icing is now ready to use.

Step 2: SEPARATE PIECES:

Separate individual panels by gently breaking along snap lines.

Step 3: ICING WRITER PREPARATION:

Carefully cut the end of the writer, as shown.

Step 4: DECORATE:

Decorate the castle, tree and fountain with OREO cookies, icing and candy. Allow to dry.

Step 5: ATTACH STANDS:

Pipe a zigzag of icing along the edge of stands D and E. Attach to the tree and fountain as shown.

Step 6: ATTACH STANDS:

Pipe a zigzag of icing along the edge and bottom of remaining stands and attach to castle piece, as shown. Attach the two side towers to stands B and C with icing.

Step 7: ATTACH TOWERS:

Attach remaining tower to Stand A with icing, as shown.

Continue decorating as desired.

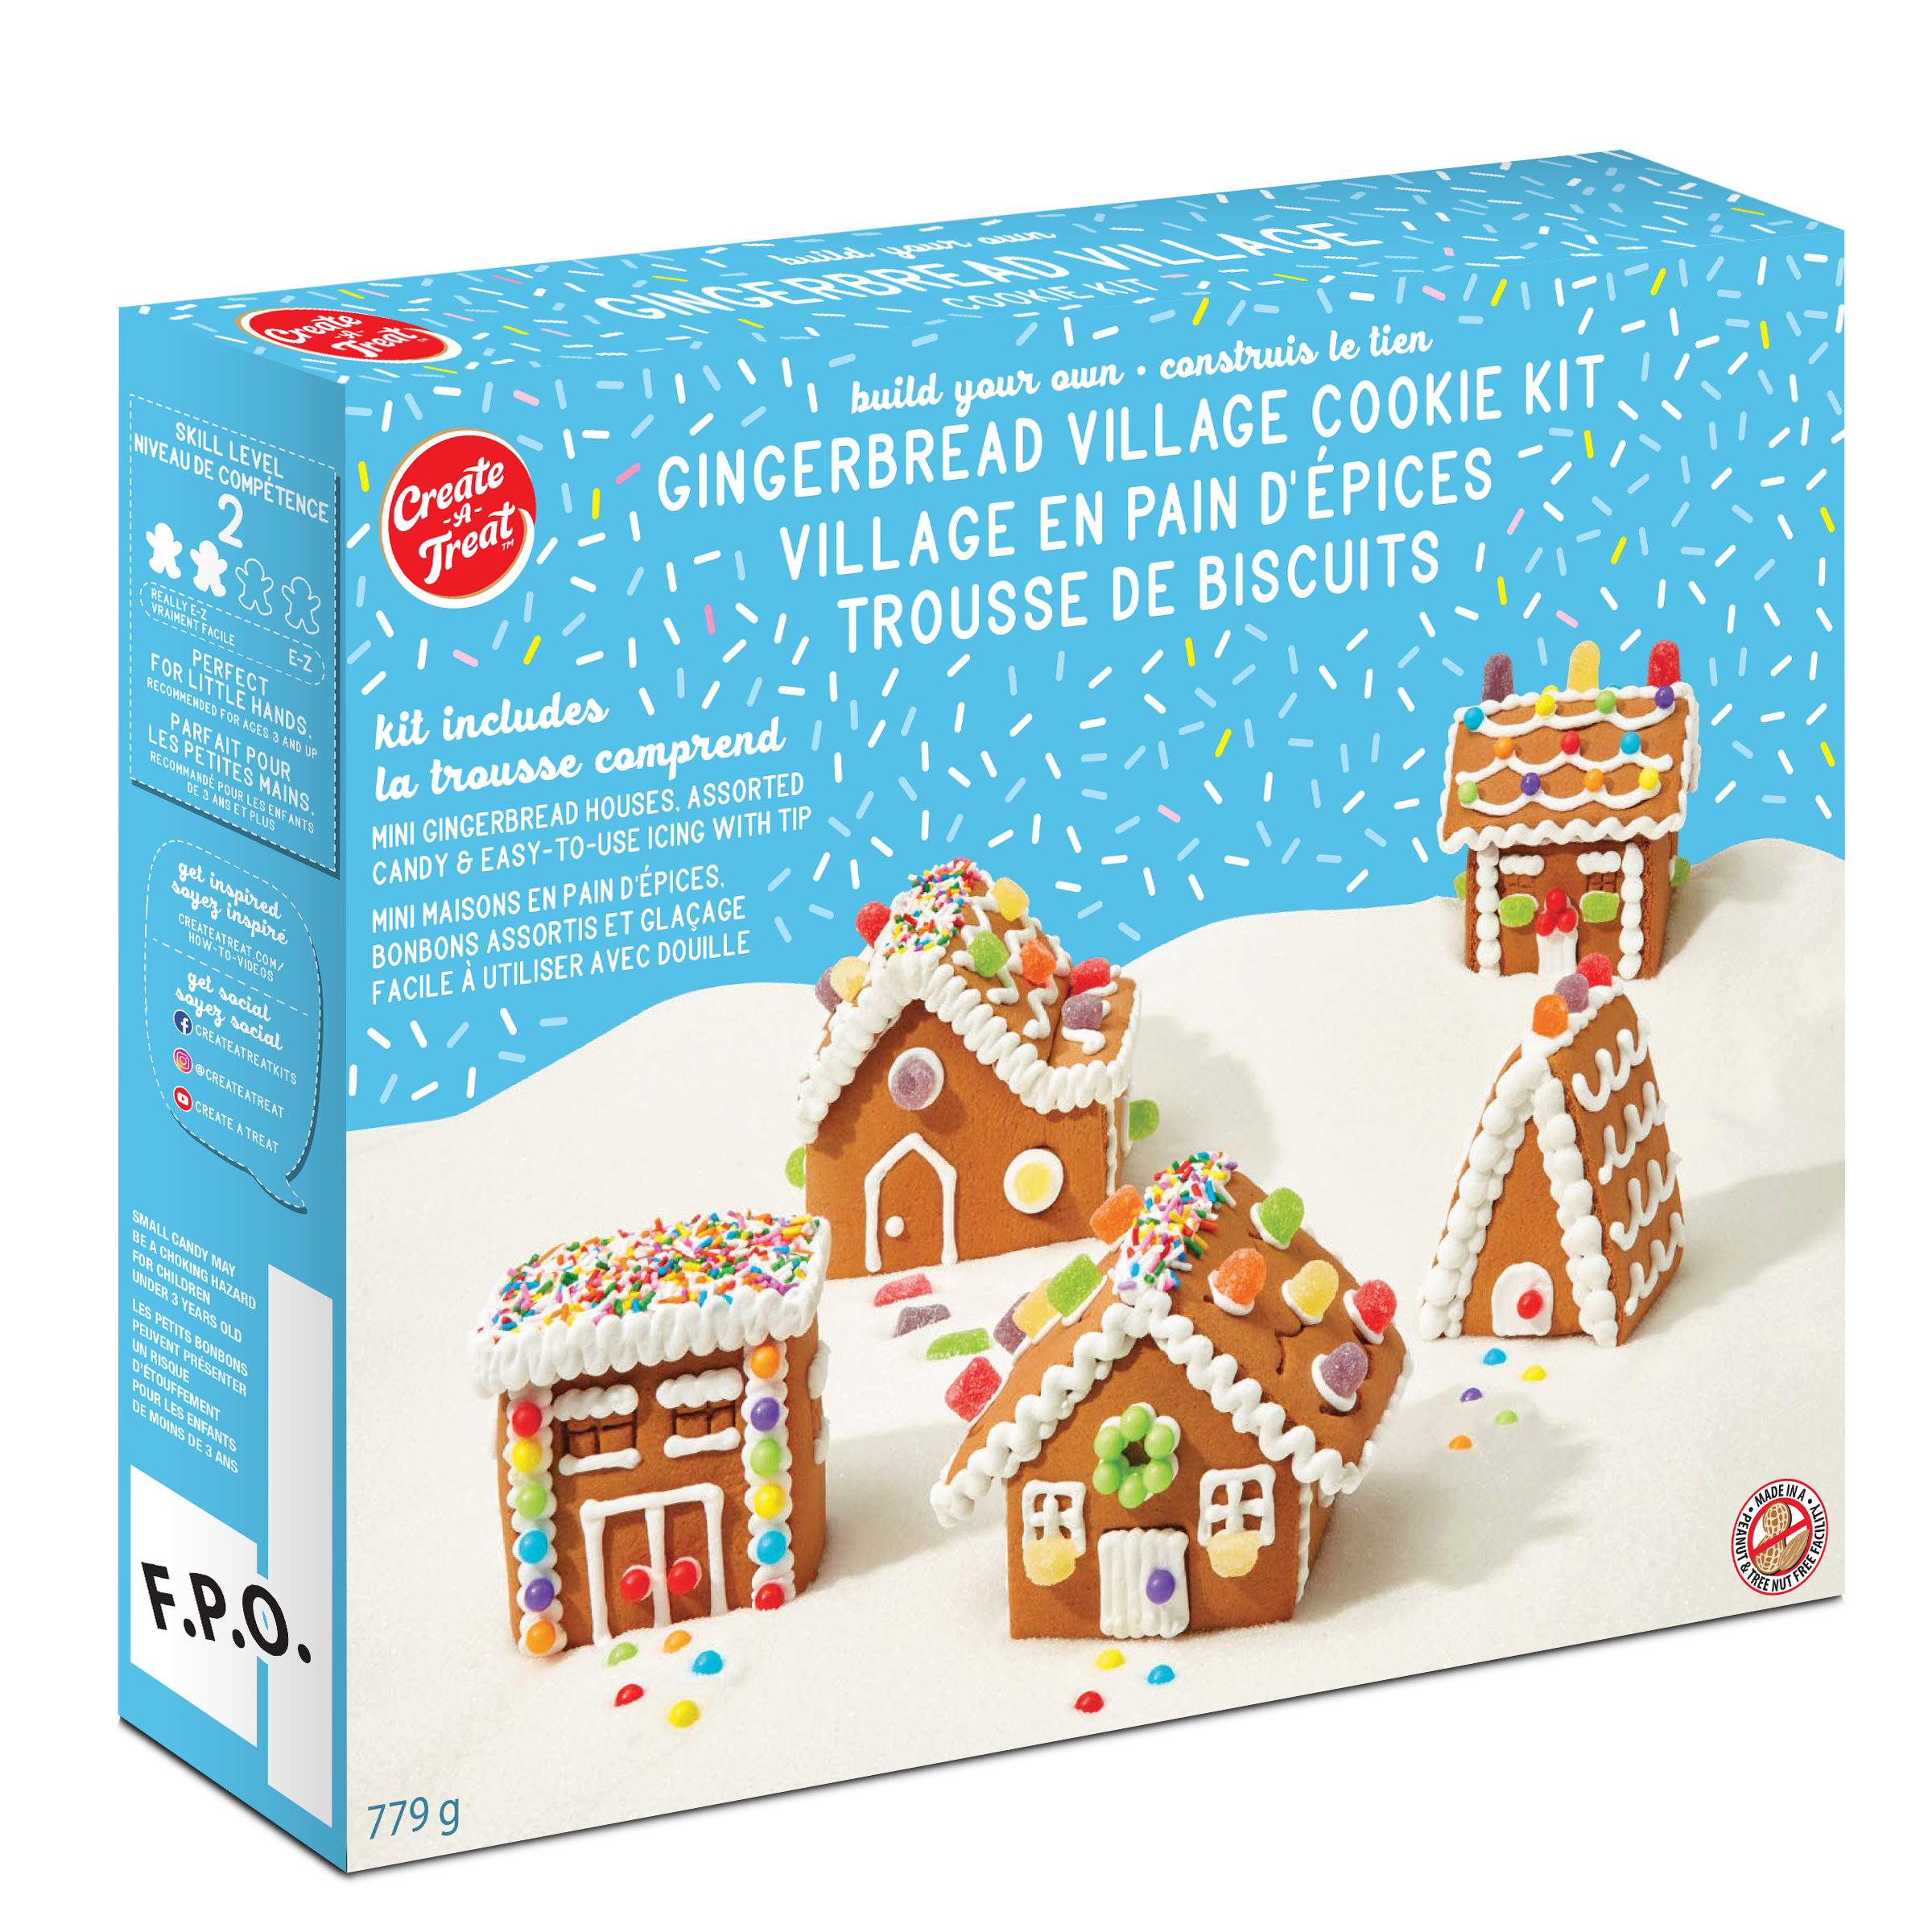
E-Z Build Village Cookie Kit

This Product Contains

Pre-Baked Cookies

Pre-Made Icing & Building Tools

Assortment of Candies

Step-By-Step

Step 1: Icing Bag Preparation

Knead/massage the icing pouch for 1-2 minutes bringing icing to room temperature and making it more adhesive. Cutting the icing tip: Remove cap and snip the tip 1/4″ from the end. Your icing is now ready for assembling the village

Step 2: Getting Started

Separate the 5 mini village houses into individual panels by gently breaking along the snap lines between sections. Be sure not to mix up house pieces. *Cardboard tray containing components may be used as a base for setting up your mini village display.

Step 3: Building Assembly

Line the four edges of the ‘A’ panels with icing. Line the top and bottom edges of B’ panels. Press pieces together to assemble house as shown.

Step 4: Regular House Assembly

Line the top and bottom edges of both ‘A’ panels with icing. Line the sides and bottoms of both ‘B’ panels with icing. Press pieces together to assemble house as shown.

Step 5: Toy Workshop Assembly

Line the top and bottom edges of both ‘A’ panels with icing. Line all four edges of both ‘C’ panels with icing. Assemble the four walls as shown. Place roof section ‘D’ on the right side followed by the two ‘B’ roof sections.

Step 6: Gabled House Assembly

Line the top and bottom edges of both ‘A’ panels with icing. Line the sides and bottom edges of ‘B’ panels. Assemble the house as shown.

Step 7: Chalet Assembly

Line the sides of the ‘A’ panels with icing as shown. Attach roof panels ‘B’ as shown.

Step 8: Decorate

Decorate with icing and candies for a delicious mini village.

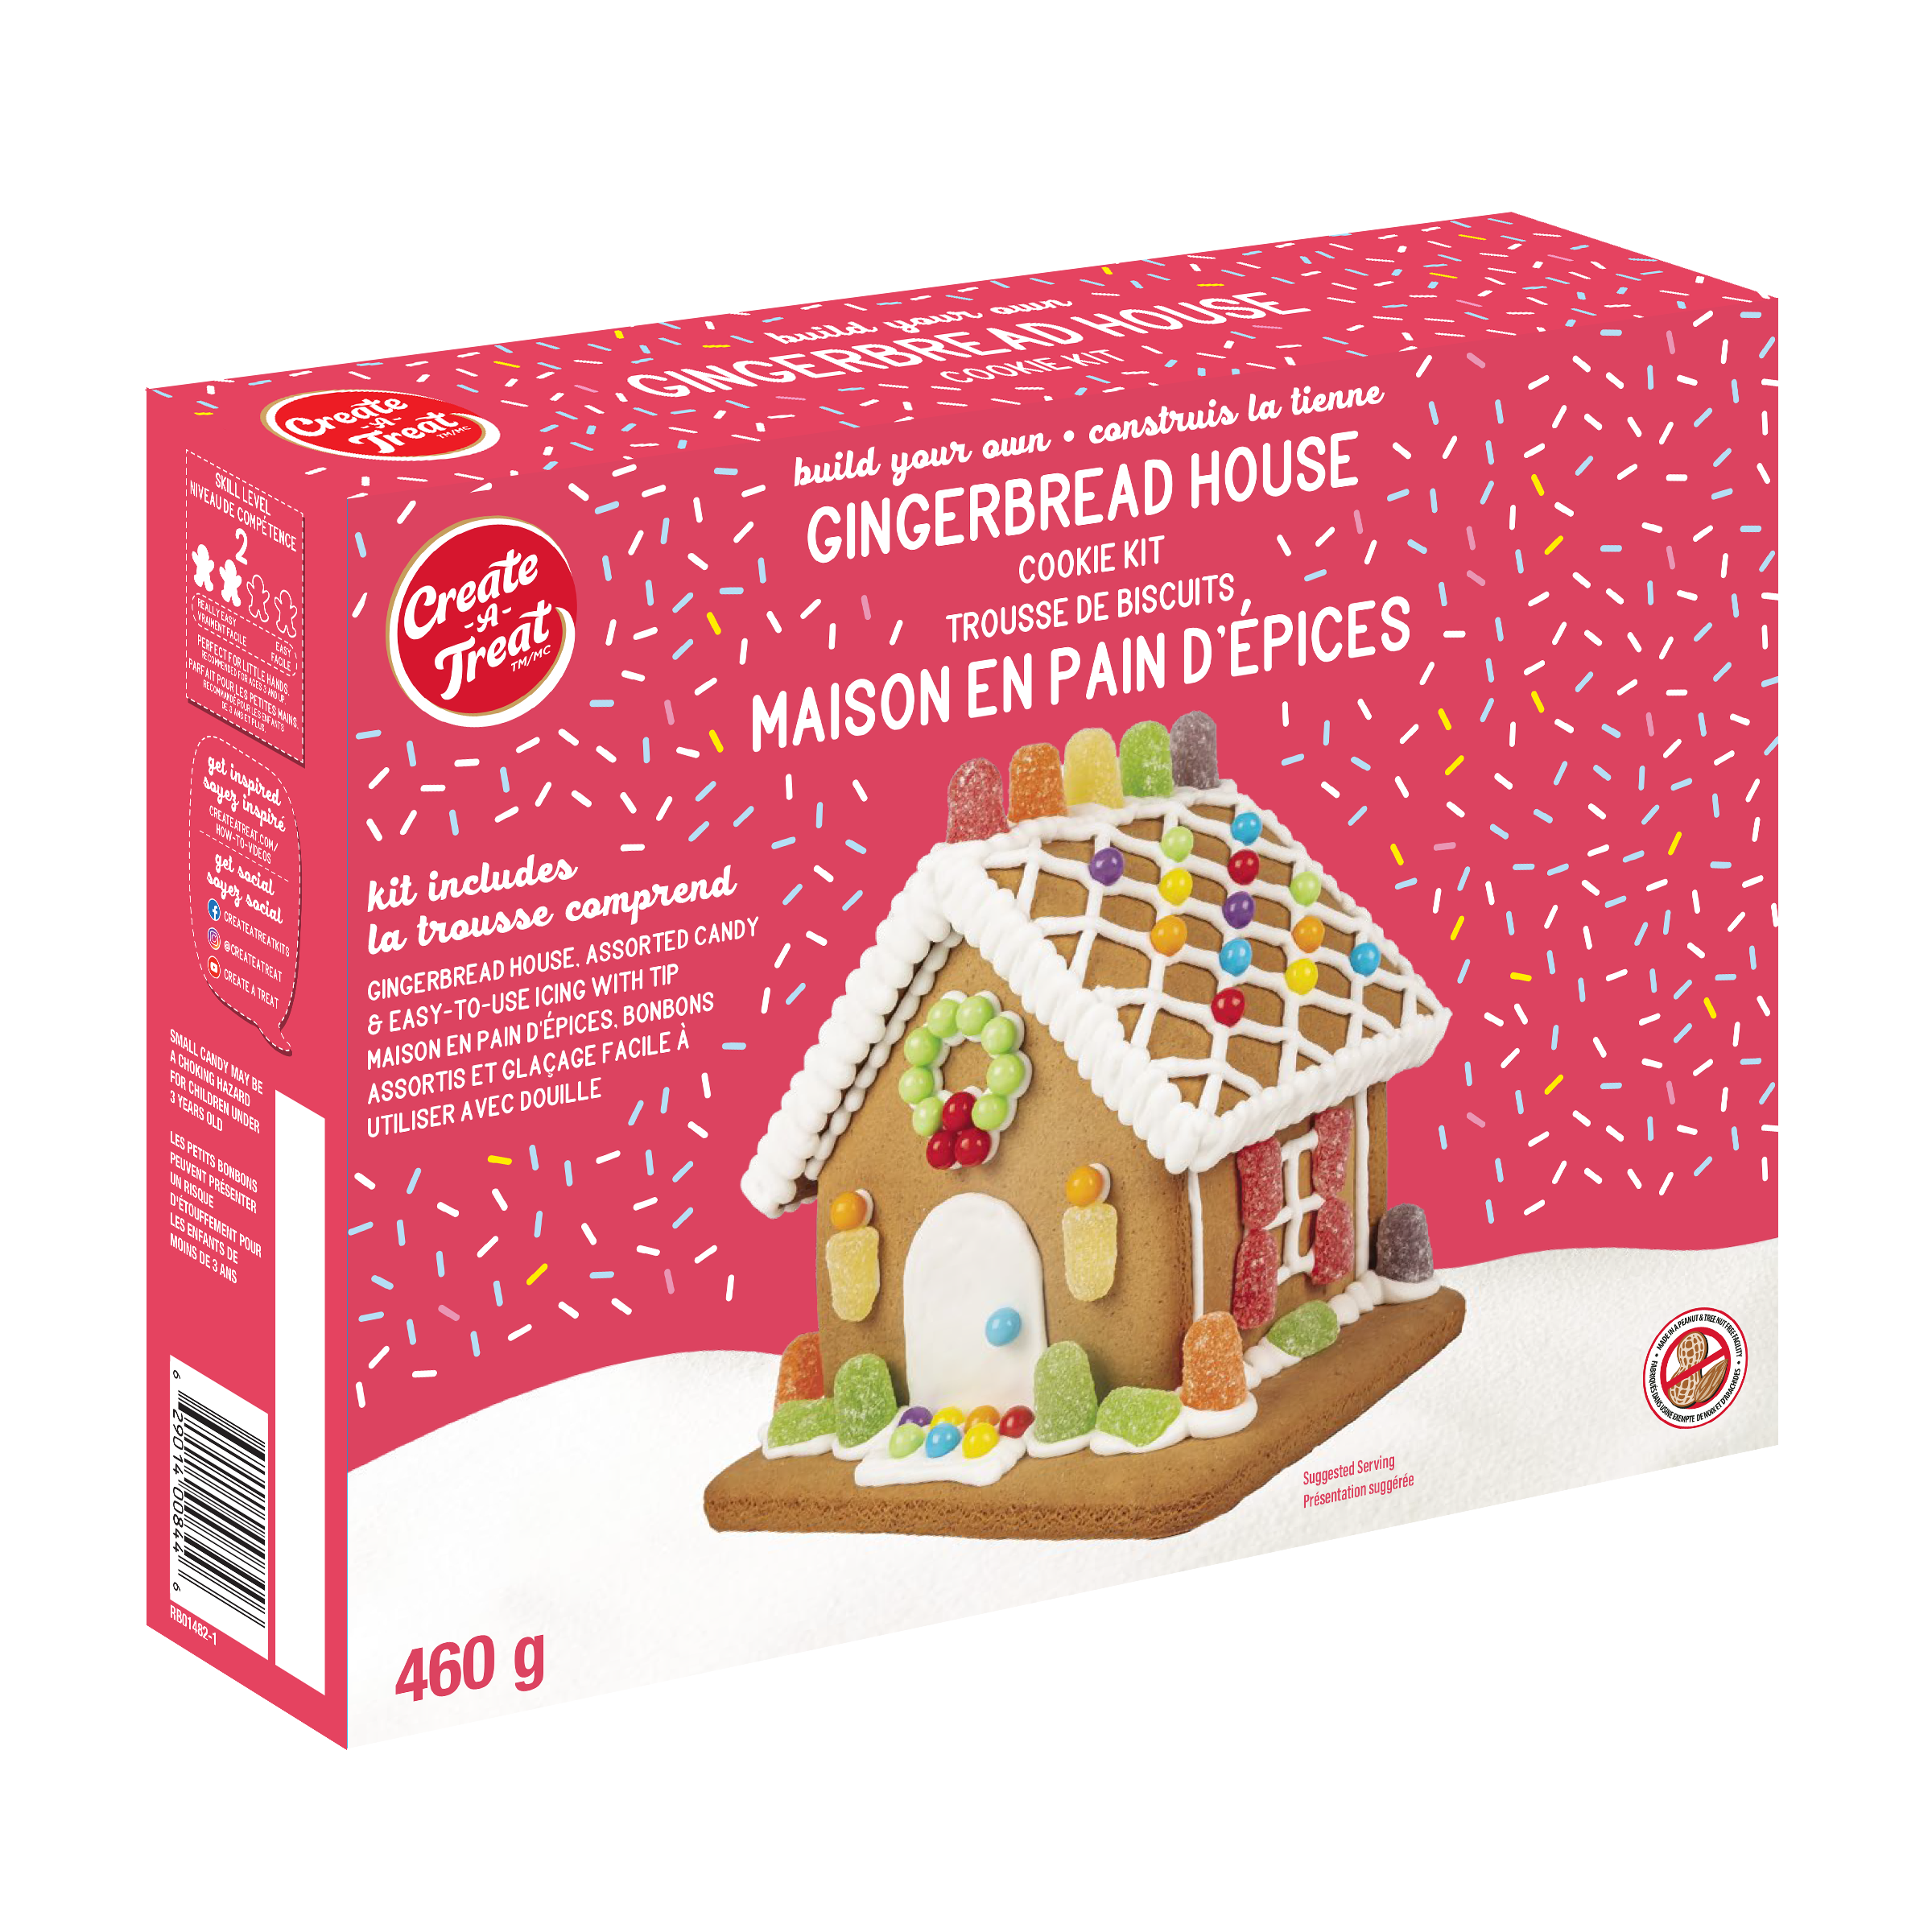
Gingerbread House Cookie Kit

This Product Contains

Pre-Baked Cookies

Pre-Made Icing & Building Tools

Assortment of Candies

Step-By-Step

Step 1: Icing Pouch Preparation

Knead/massage the icing pouch for 1-2 minutes bringing icing to room temperature and making it more adhesive. Cutting the icing tip: Remove cap and snip the tip 1/4″ from the end. Be sure not to cut the opening too large. Your icing is now ready for assembling the house.

Step 2: Arrange House Pieces for Assembly

Lay out house pieces on table with the front and back panels face down. To ensure there is enough icing to stick the pieces, pipe a zigzag of icing along the edges of the front and back panels as shown. Pipe a zigzag of icing on the marked lines of the house base.

Step 3: Erect Walls

Place back panel of house into the icing on the base. Then press side wall up against icing strip on back panel. Repeat process with second side wall, then, front panel. Adjust walls to create a good rectangle prior to putting on roof pieces.

Step 4: Apply Icing to House Peaks

Pipe a zigzag strip of icing along roof edges of front and back panels.

Step 5: Add Roof

Attach roof panels to house peaks and hold in place for one minute. Add a zigzag of icing between roof pieces. Hold in place for another minute while icing sets. Wait 15 minutes prior to decorating your house.

Step 6: Decorate

You are now ready to decorate your house!

Sweet Heart Chocolaty Kit

Step-By-Step

Step 1: Icing Pouch Preparation

Knead the icing pouch for 1-2 minutes bringing icing to room temperature and making it more adhesive. Cut a small opening at a corner and gently squeeze.

ICING WRITER PREPARATION: Carefully cut the end of the writer, as shown.

Step 2: Arrange pieces for assembly

Layout one heart cookie on the table face down. Separate the spacer pieces by gently breaking along the snaplines between sections. Pipe a zig zag of icing on 3 of the cookies pacers as shown.

Step 3: Assembly

Stick the cookie spacers together into 3 sandwiches. Pipe a zigzag of icing to bottom of one spacer sandwich and attach along the bottom of heart. Attach remaining spacers with icing, as shown.

Step 4: Apply icing

Pipe a zigzag of icing on spacers, then attach remaining heart cookie as shown.

Step 5: Decorate

Wait 15 minutes for icing to set. Then, stand heart box upon the flat bottom edge. You are now ready to decorate your heart box, and fill with Valentine’s treats as desired!

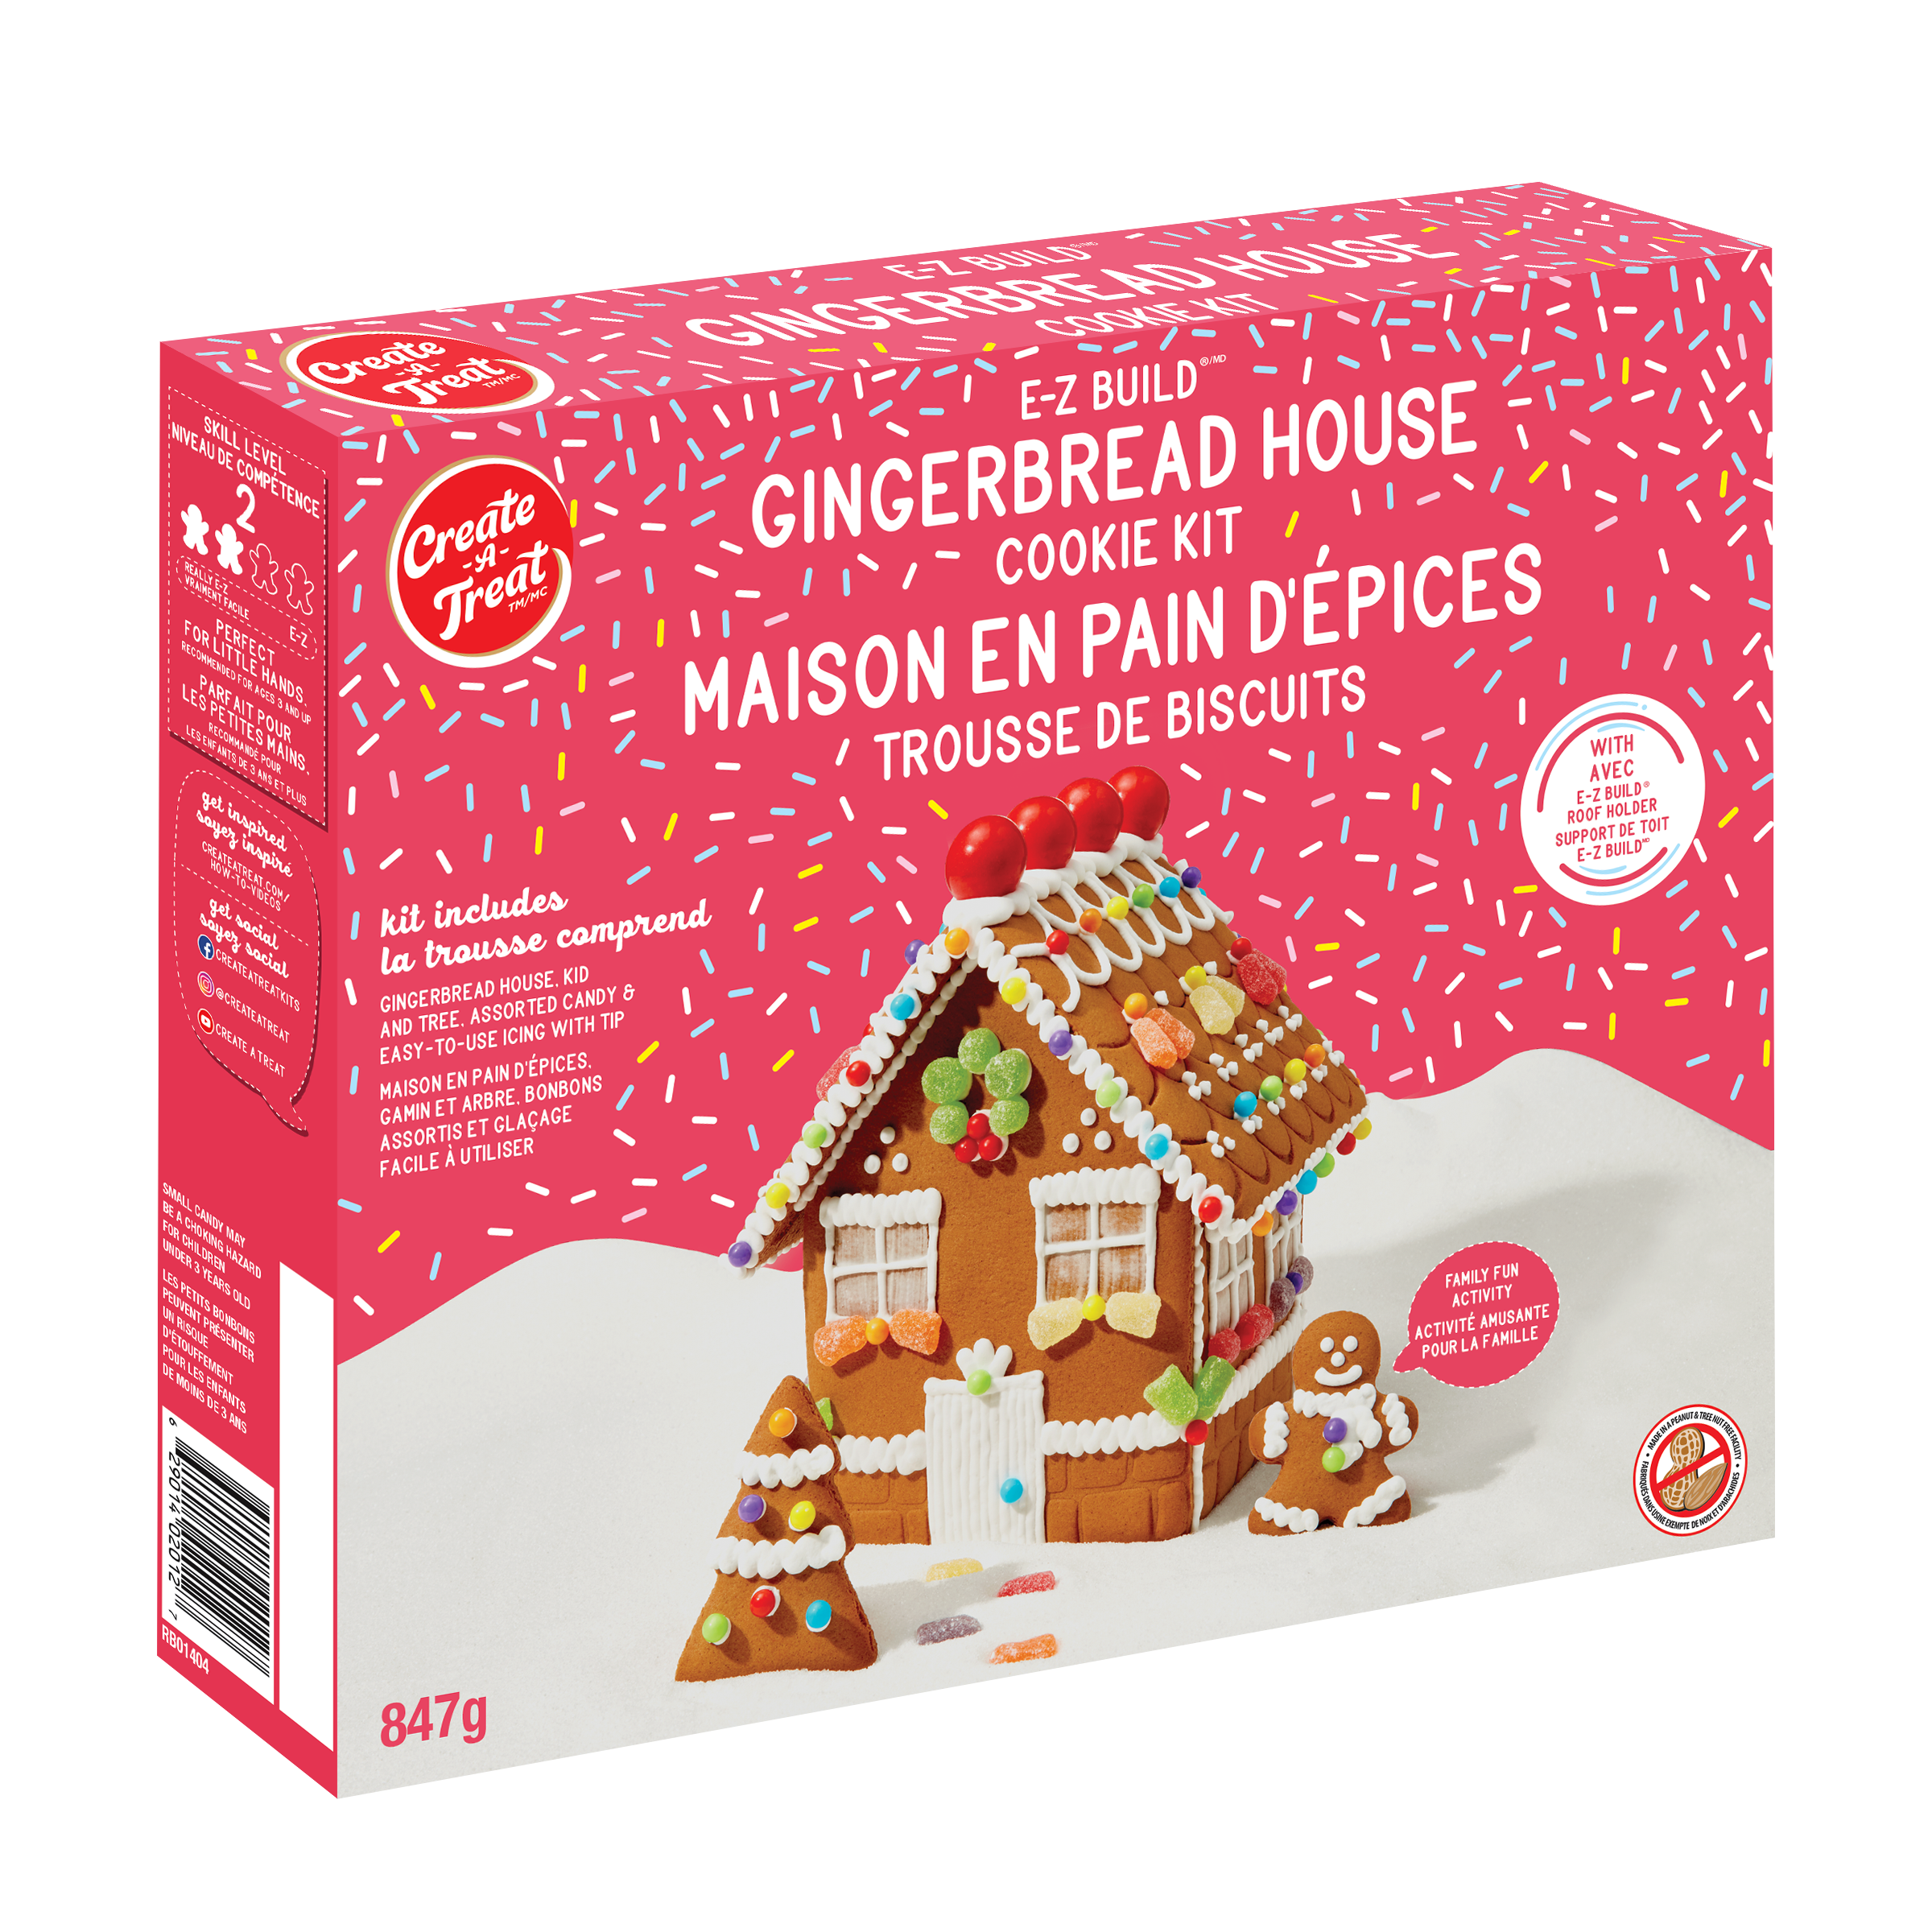
E-Z Build® Large Gingerbread House Kit

This Product Contains

Pre-Baked Cookies

Pre-Made Icing & Building Tools

Assortment of Candies

Step-By-Step

Step 1: Icing Preparation

Knead/massage the icing pouch for 1-2 minutes bringing icing to room temperature and making it more adhesive. Cutting the icing tip: Remove cap and snip the tip 1/4″ from the end. Your icing is now ready for assembling the house.

Step 2: Arrange House Pieces for Assembly

Lay out house pieces on table. Line the 4 canals of E-Z Build® tray with a strip of icing. On the reverse (rough side) of front and back panels of house along the edges, pipe a thick line of icing.

Step 3: Erect Walls

Using E-Z Build® tray, insert back panel of house into the canal, then press side wall up against icing strip on back panel. Repeat process with front panel and second side wall. Adjust walls to create a good rectangle prior to putting on roof pieces.

Step 4: Apply Icing to House Peaks

Pipe a thick strip of icing along roof edges of front and back panels. Add roof: Attach roof panels to house peaks, add a strip of icing down the middle of the house.

Step 5: Using the E-Z Build® Roof Holder

Flex the E-Z Build® Roof Holder above the house by gently pulling one side forward and the other back.

Step 6: Attaching Roof Holder

Hook the other side of the holder under the other roof panel between the two windows.

Step 7: Decorate

You are now ready to decorate your house! The E-Z Build® roof holder will hold the panels for you while the icing sets. Start decorating the four walls of the house. Once completed, remove the E-Z Build® Roof Holder to decorate the roof, or decorate around the holder.

Step 8: Use Roof Holder as Decoration

If you like, you can add the E-Z Build® Roof Holder back on the house when you are finished decorating as an added decoration. Personalize your E-Z Build® Roof Holder by coloring and adding your name.

OREO® Build Your Own Cookie House Kit

This Product Contains

Pre-Baked Cookies

Pre-Made Icing

Assortment of Candies

Step-By-Step

Step 1: Icing Pouch Preparation

Knead the icing pouch for 1-2 minutes bringing icing to room temperature and making it more adhesive. To start the flow of icing, remove the cap and snip the tip 1⁄4″ from the top of the tip. Be sure not to cut the opening too large. Your icing is now ready to use.

Step 2: Arrange House Pieces for Assembly

Lay out house pieces on table with the front and back panels face down. Pipe a zigzag line of icing along the edges of the front, back and side panels as shown.

Step 3: Erect Walls

Place back panel of house on base, then press side wall up against icing strip on back panel. Repeat process with second side wall and then front panel. Adjust walls to create a good rectangle prior to putting on roof pieces.

Step 4: Add Roof

Pipe a zigzag strip of icing along roof edges of front and back panels. Attach roof panels to house peaks and hold in place for one minute. Add a zigzag of icing between roof pieces. Hold in place for another minute while icing sets. Wait 15 minutes prior to decorating your house.

Step 5: Decorate

You are now ready to decorate your house! To create roof tiles, twist open OREO cookies and use wafers as tiles. Attach cookie to roof with icing. To create a tree, break a cookie into four pieces and attach three pieces together with icing as shown. Continue decorating as desired.
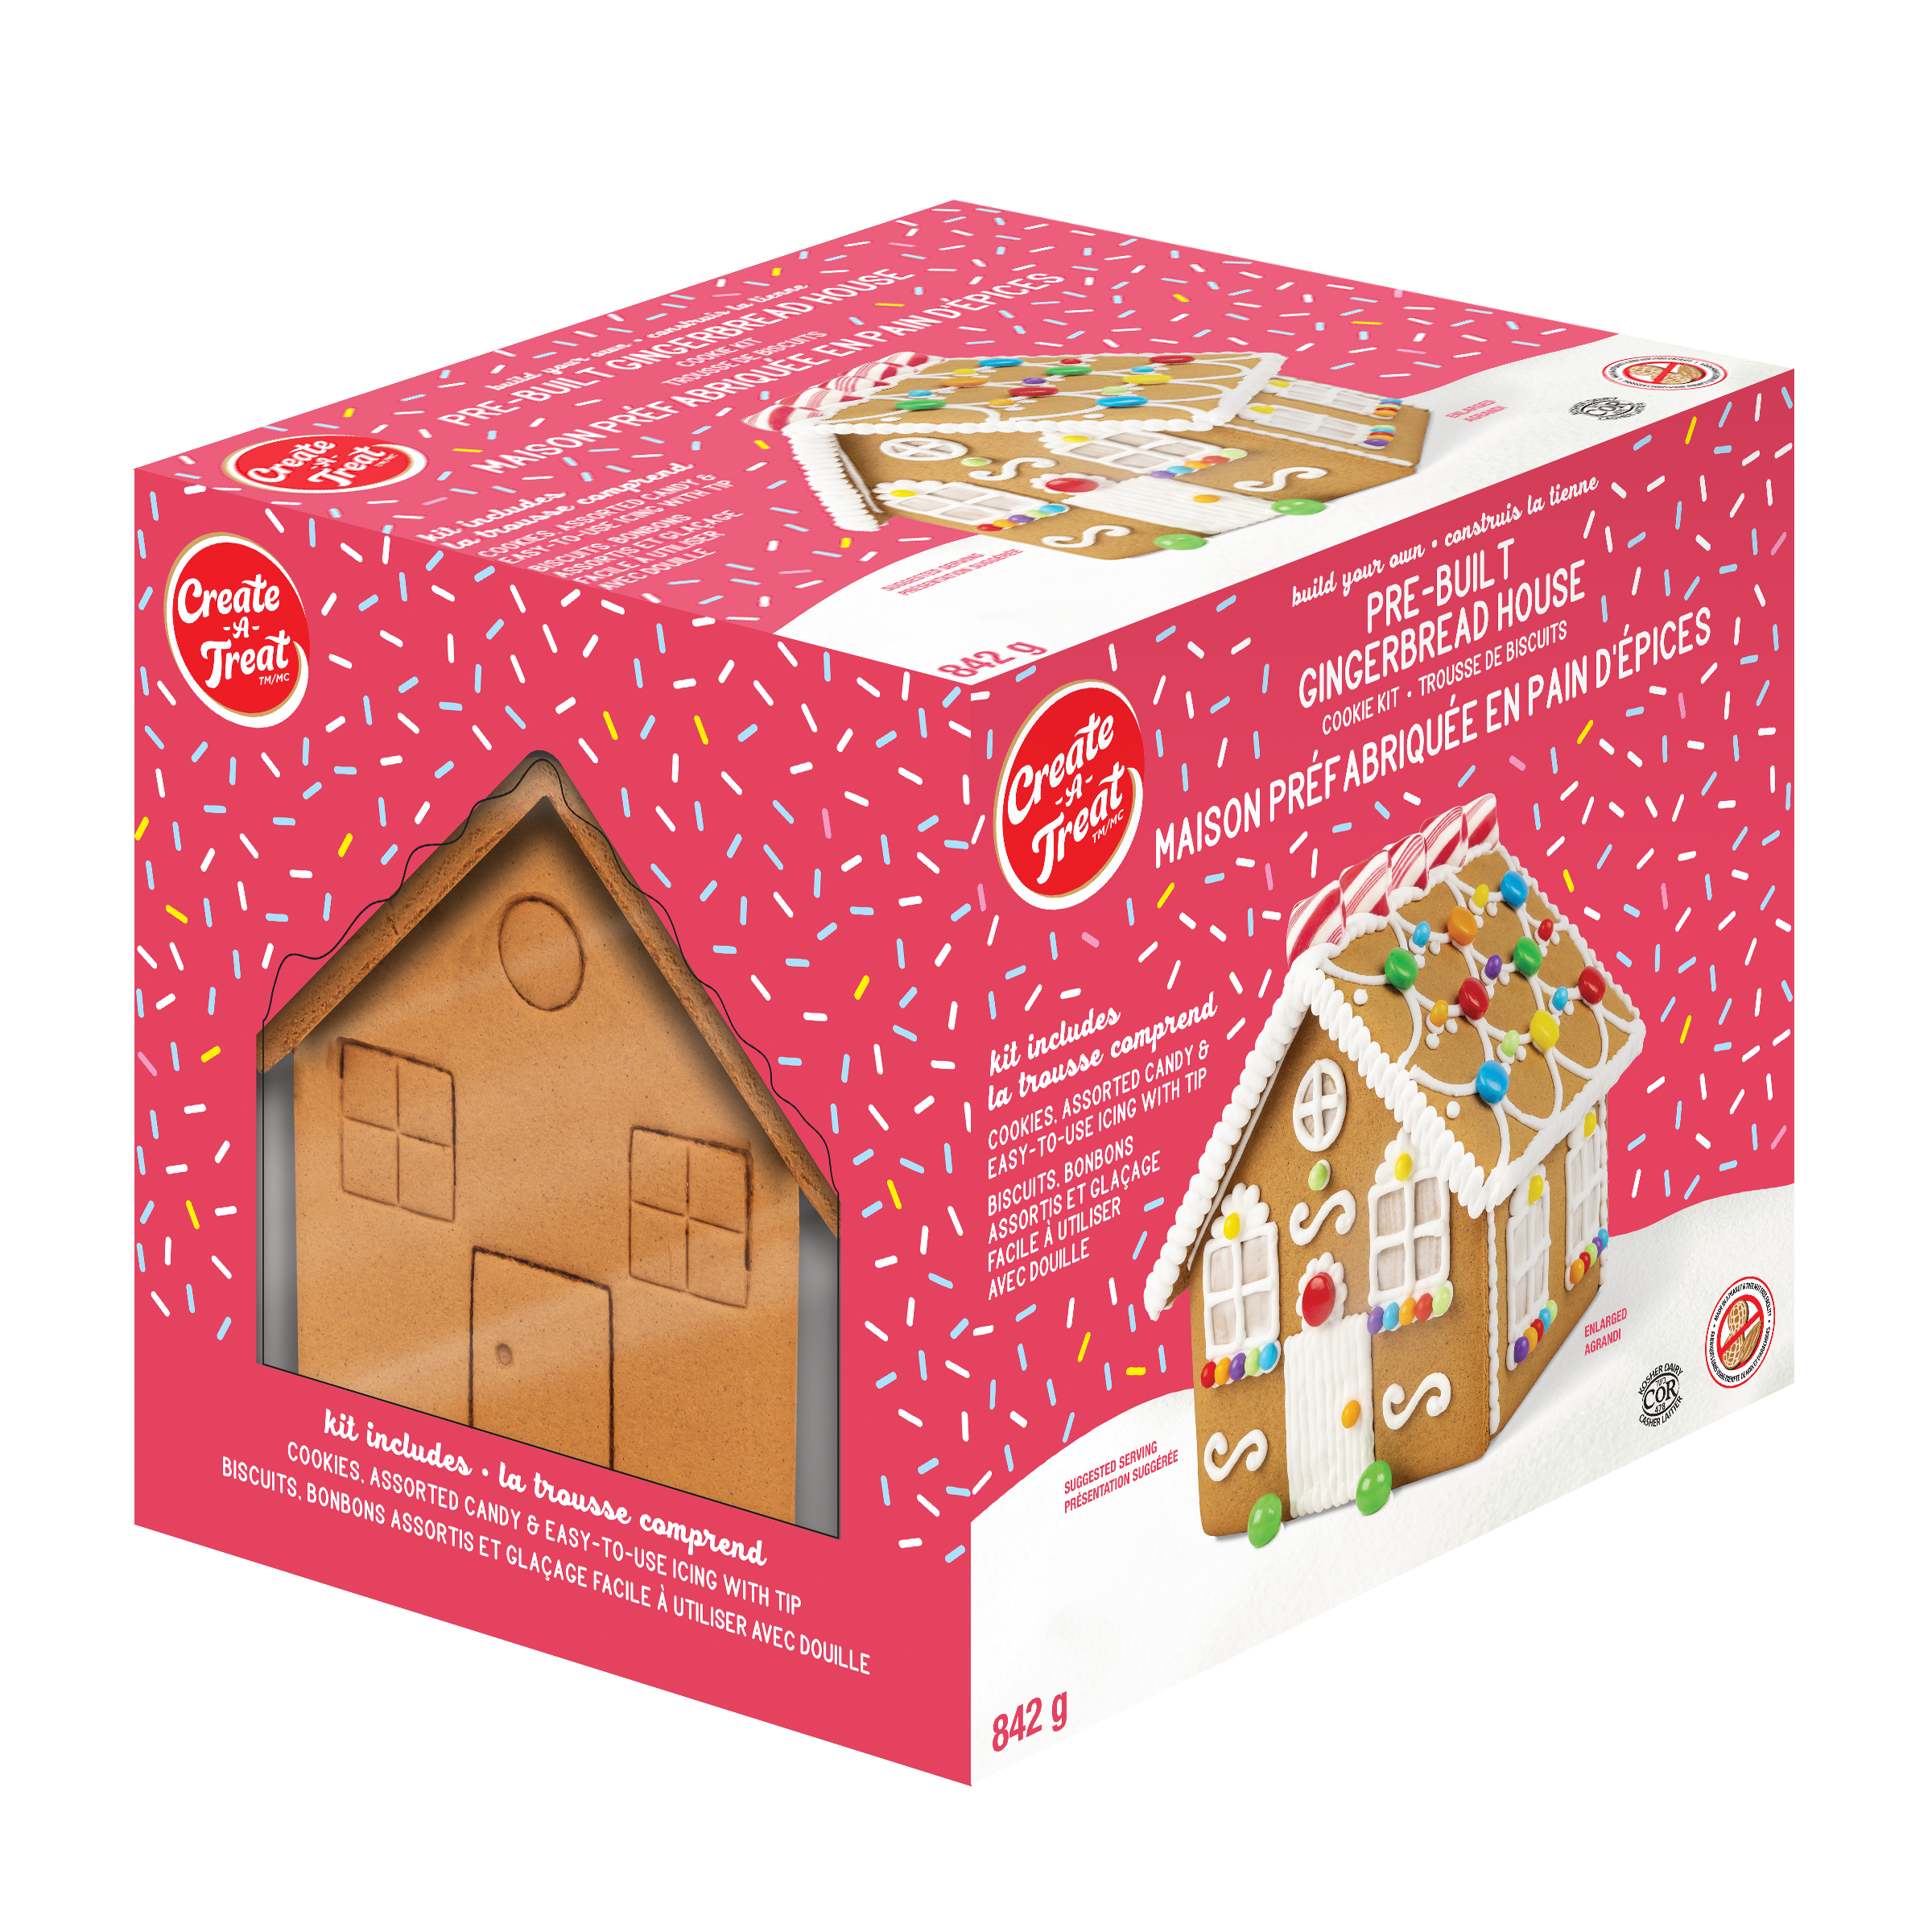
Pre-Built Gingerbread House Kit

This Product Contains

Pre-Built Gingerbread House

Pre-Made Icing

Assortment of Candies

Step-By-Step

Step 1: Icing Preparation

Knead/massage the icing pouch for 1-2 minutes bringing icing to room temperature and making it more adhesive.

Cutting the icing tip: Remove cap and snip the tip 1/4″ from the end. Your icing is now ready for decorating the house.

Step 2: Decorate Your House

Use icing and candies to decorate your house.

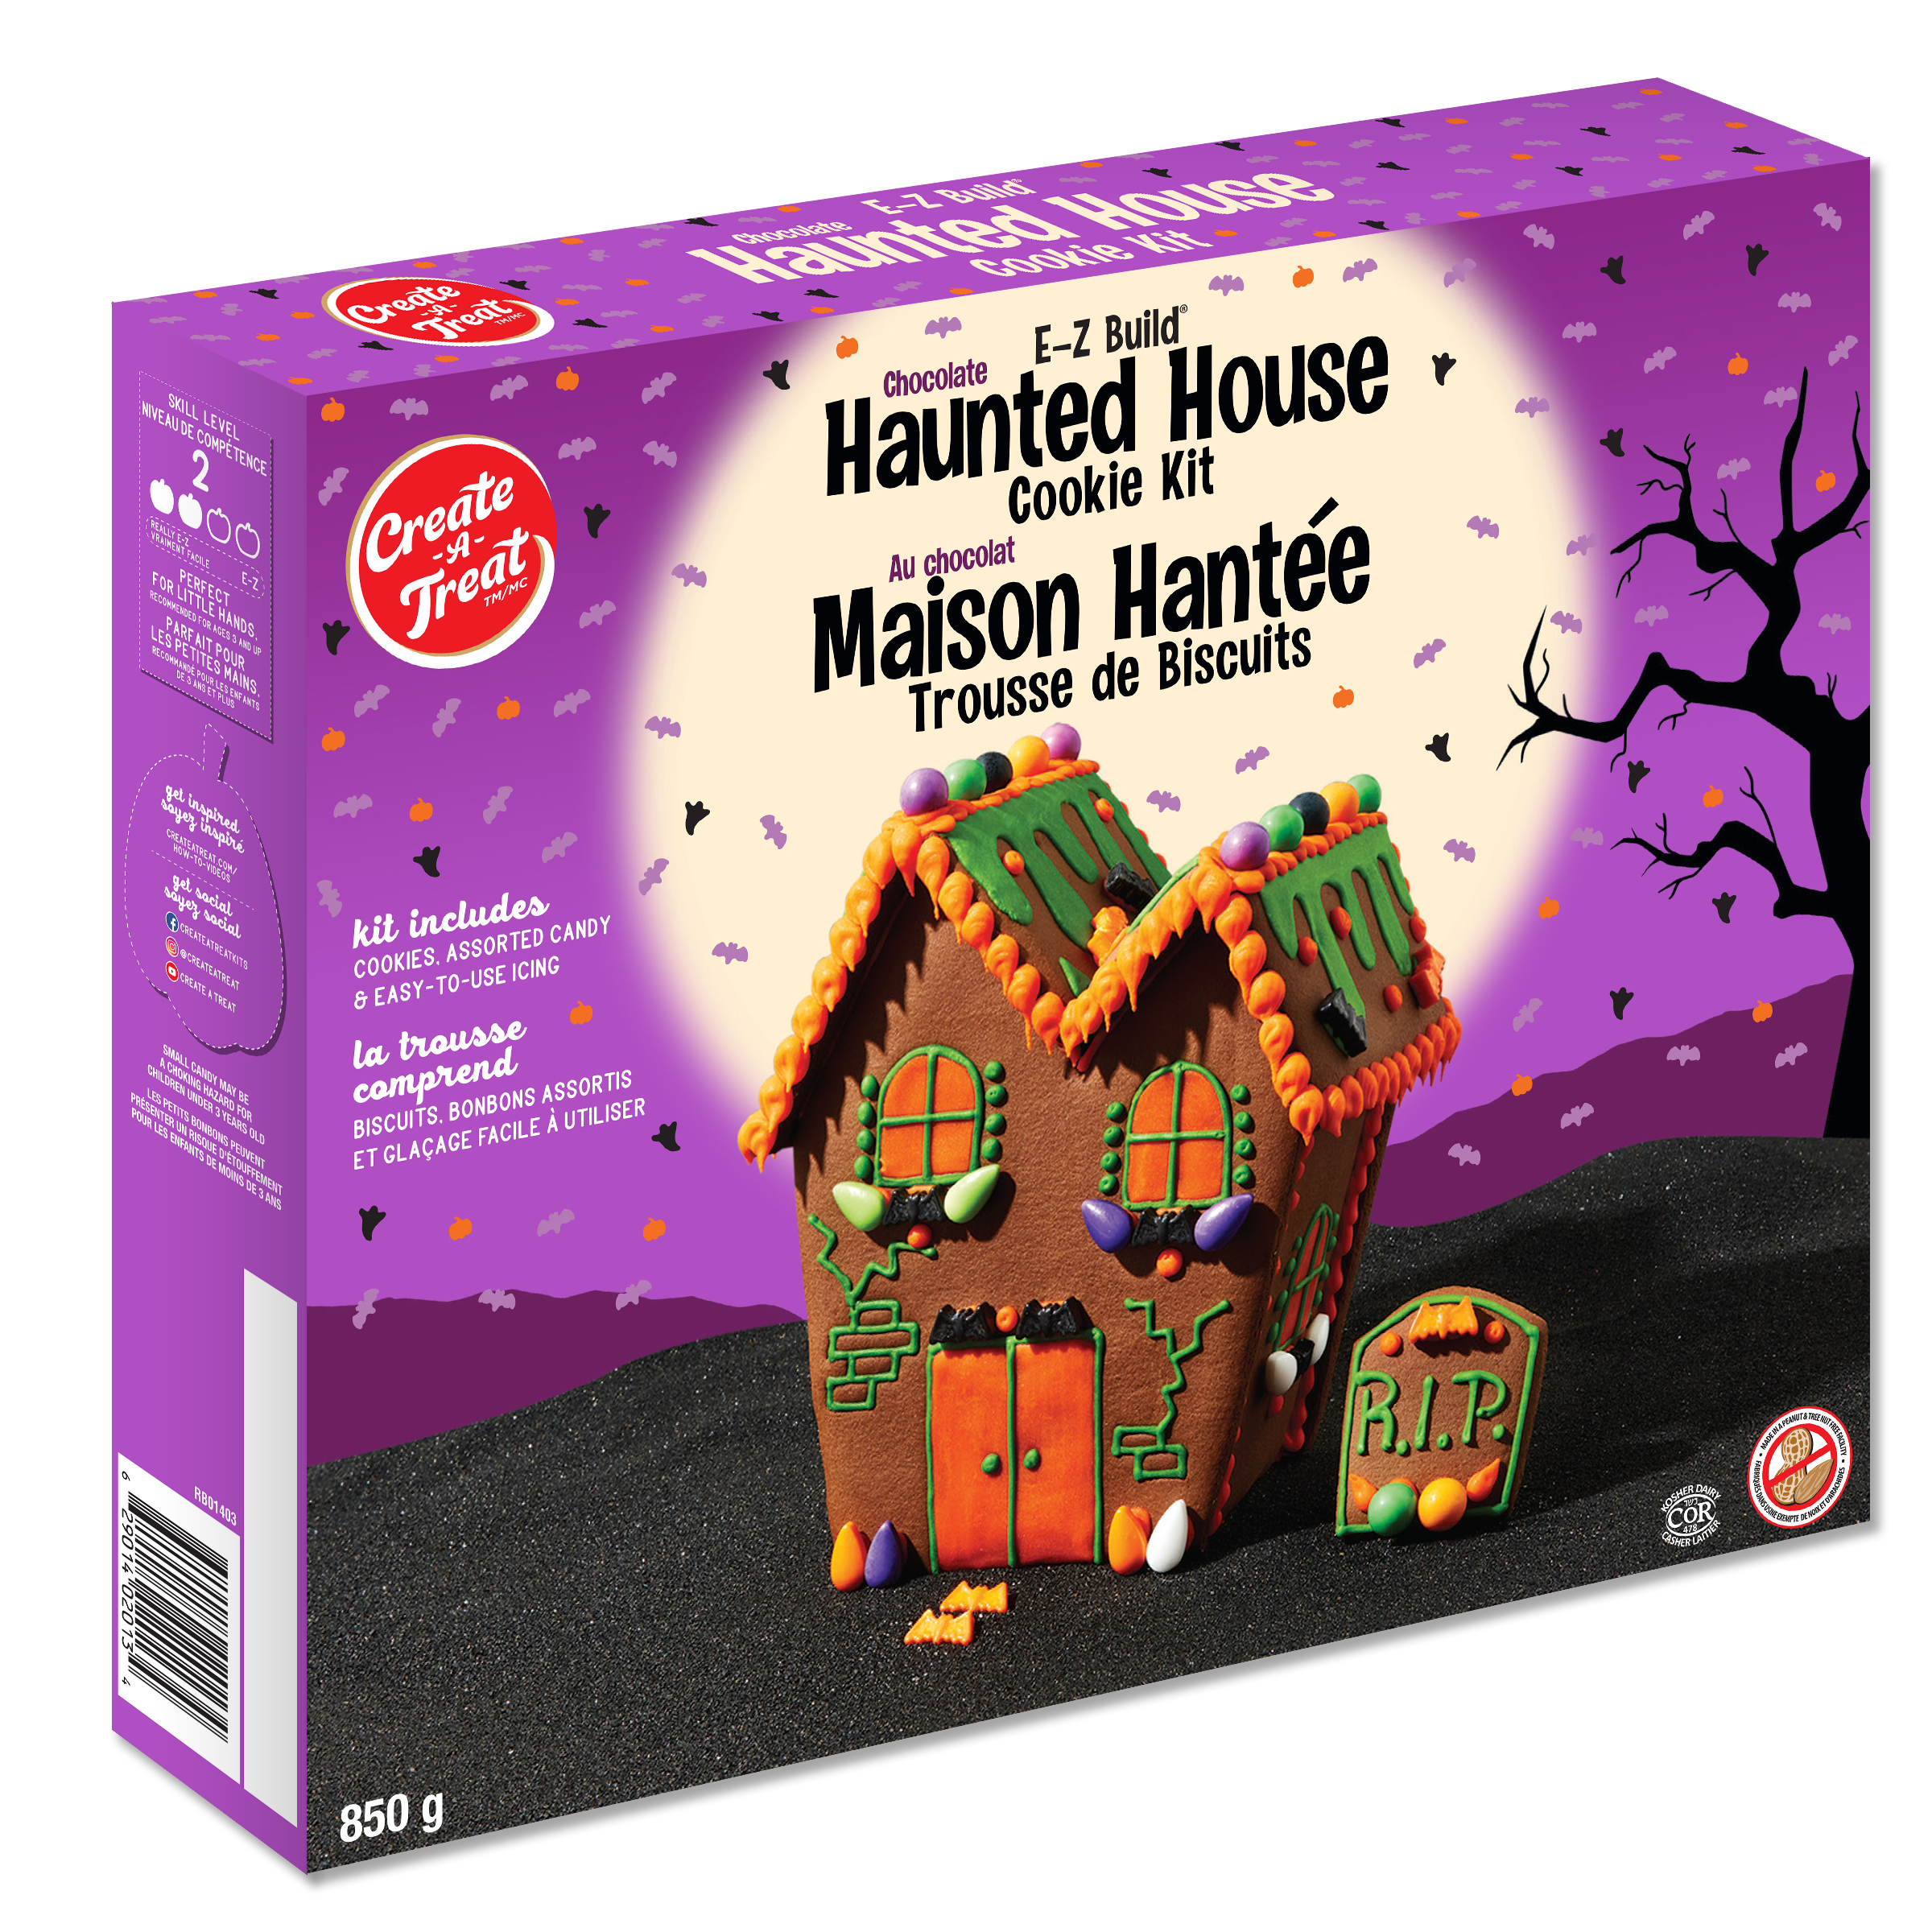
E-Z Build™ Haunted Chocolate House

This Product Contains

Pre-Baked Cookies

Pre-Made Icing & Building Tools

Assortment of Candies

Step-By-Step

Step 1: Icing preparation

Remove pre-made icing from kit. Knead/ Massage icing pouch for 1-2 minutes brinking icing to room temperature and making it more adhesive. Cutting the icing tip: remove cap and snip 1/4 from end. Your icing is now ready for assemling the house.

Step 2: Getting started

As shown gently break lieces apart on the solid lines ti seperate. Lay out house pieces on table.

Step 3: Arrange house pieces for assembly

Line the 4 canals of E-Z Build® Tray with a strip of icing. On the reverse (rough side) of front and back panels of house along the edges. Pipe a thick line of icing.

Step 4: Erect walls

Using E-Z Buld® Tray, insert back panel of house into the canal. Then press side wall uo against icing strip on back panel and secjnd side wall. Adust walls ti create a good rectangle prior to putting on roof pieces as shown.

Step 5: Apply icing to house peaks

Pipe a thick strip of icing along roof edges of front and back panelse as shown

Step 6: Add roof

The four foor sections are different sizes. Each one is marked with a series of dots to indicate the piece. E.G. Piece #1 has 1 dot. 6A: Gently press piece #1 into position & piece #2 will sit against first piese. As shows piece. 6B: #3 Will go in the left side of the house & #4 on the right. Hold these two pieces for one minute until icing sets enough that they will non slide.

Step 7: Complete roof

Add a strip of icing down the middle of the house. For the best results wait 15 minutes before decorating your house.

Step 8: Decorate

You are now ready to decorate your house!

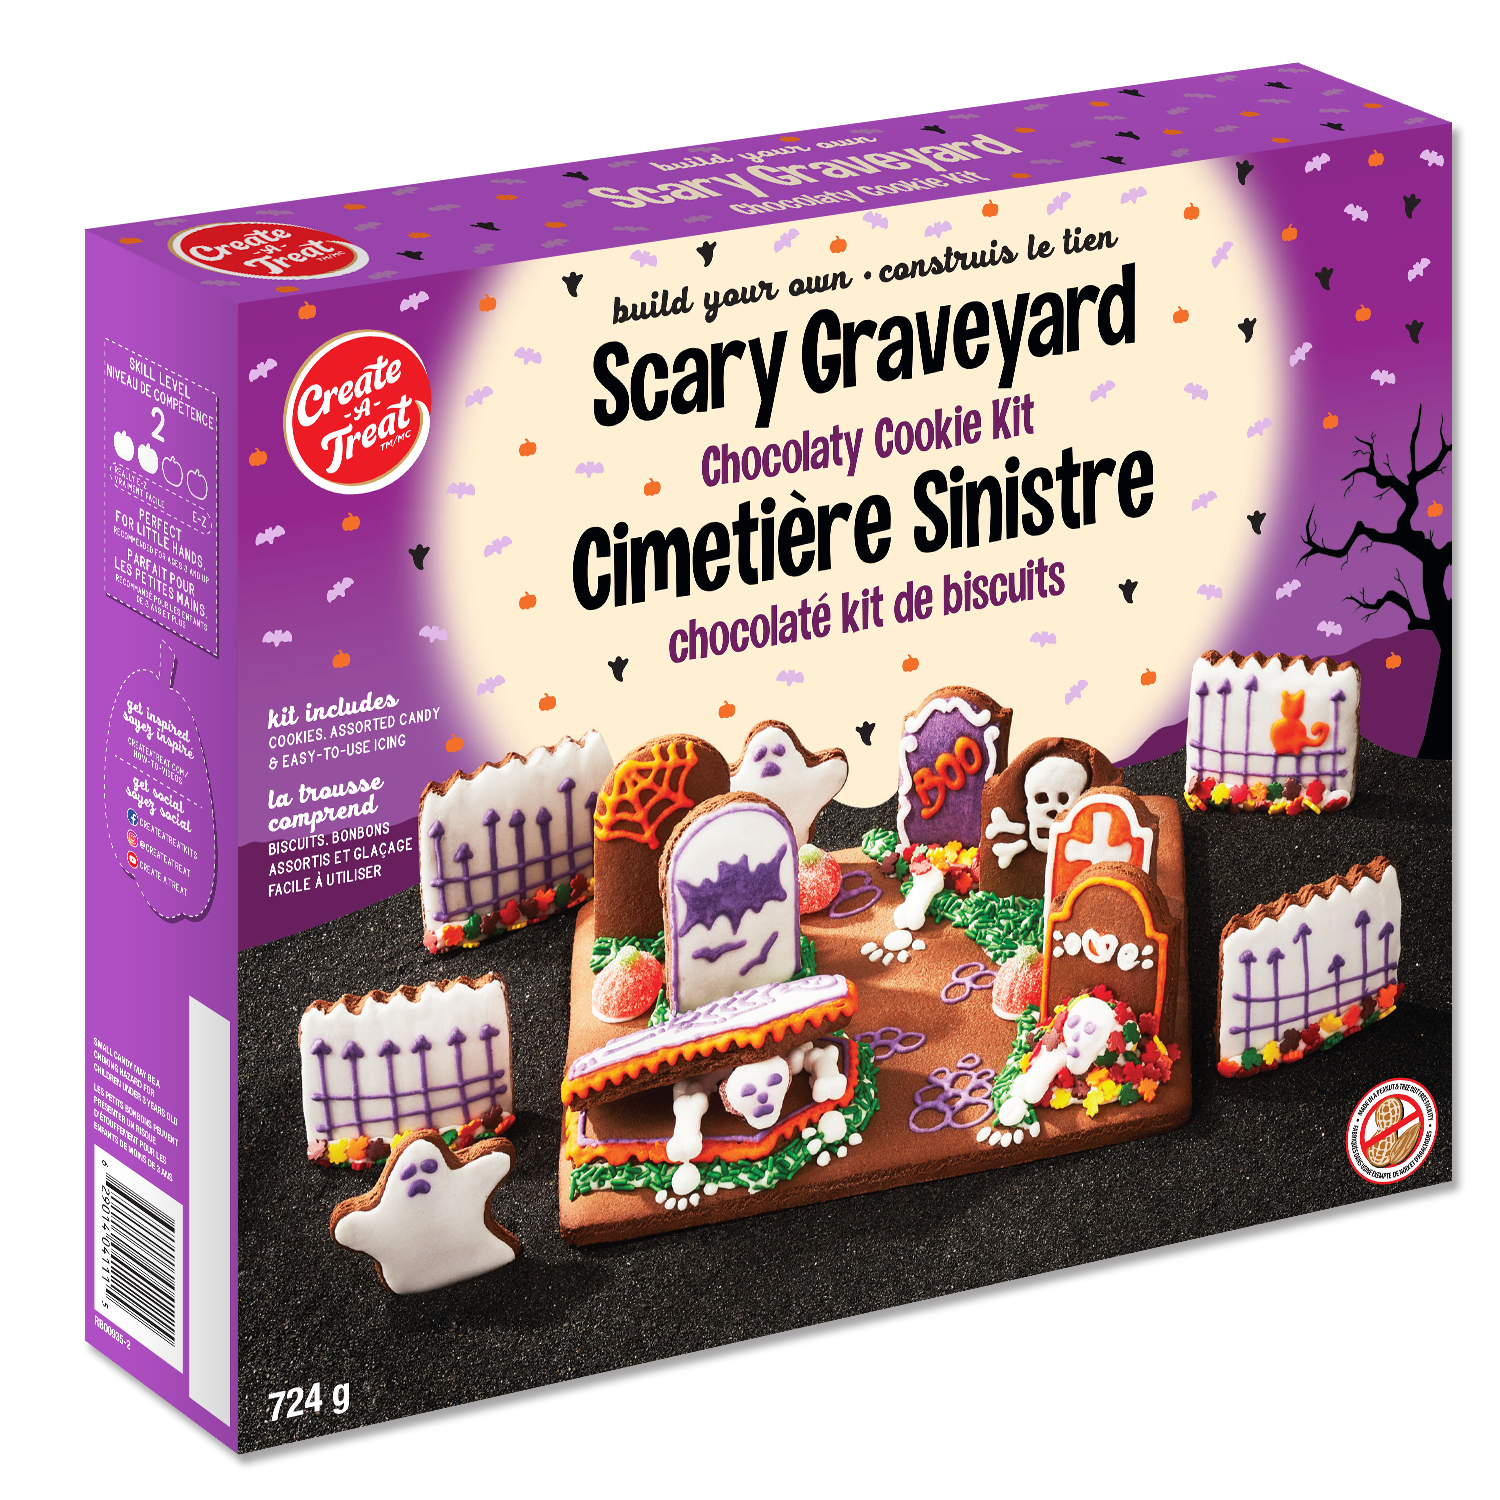
Scary Chocolate Graveyard Cookie Kit

This Product Contains

Pre-baked Cookies

Pre-Made Icing

Assortment of Candies

Step-By-Step

Step 1: Icing Pouch Preparation

From kit. knead/ massage icing pouch for 1-2 minutes bringing icing to room temperature and making it more adhesive. Cutting the icing tip: remove cap and snip 1/4″ from the end. your icing is now ready for assembling the graveyard.

Step 2: Separate Panels

Separate individual panels by gently breaking along snap lines.

Step 3: Icing writer instructions

Carefully cut the end of the icing writer, as shown.

Step 4: Decorate

Decorate gravestones, ghosts and fences with icings and candy. Allow to dry.

Step 5: Attach

Attach to cookie base with white icing and continue decorating as desired.
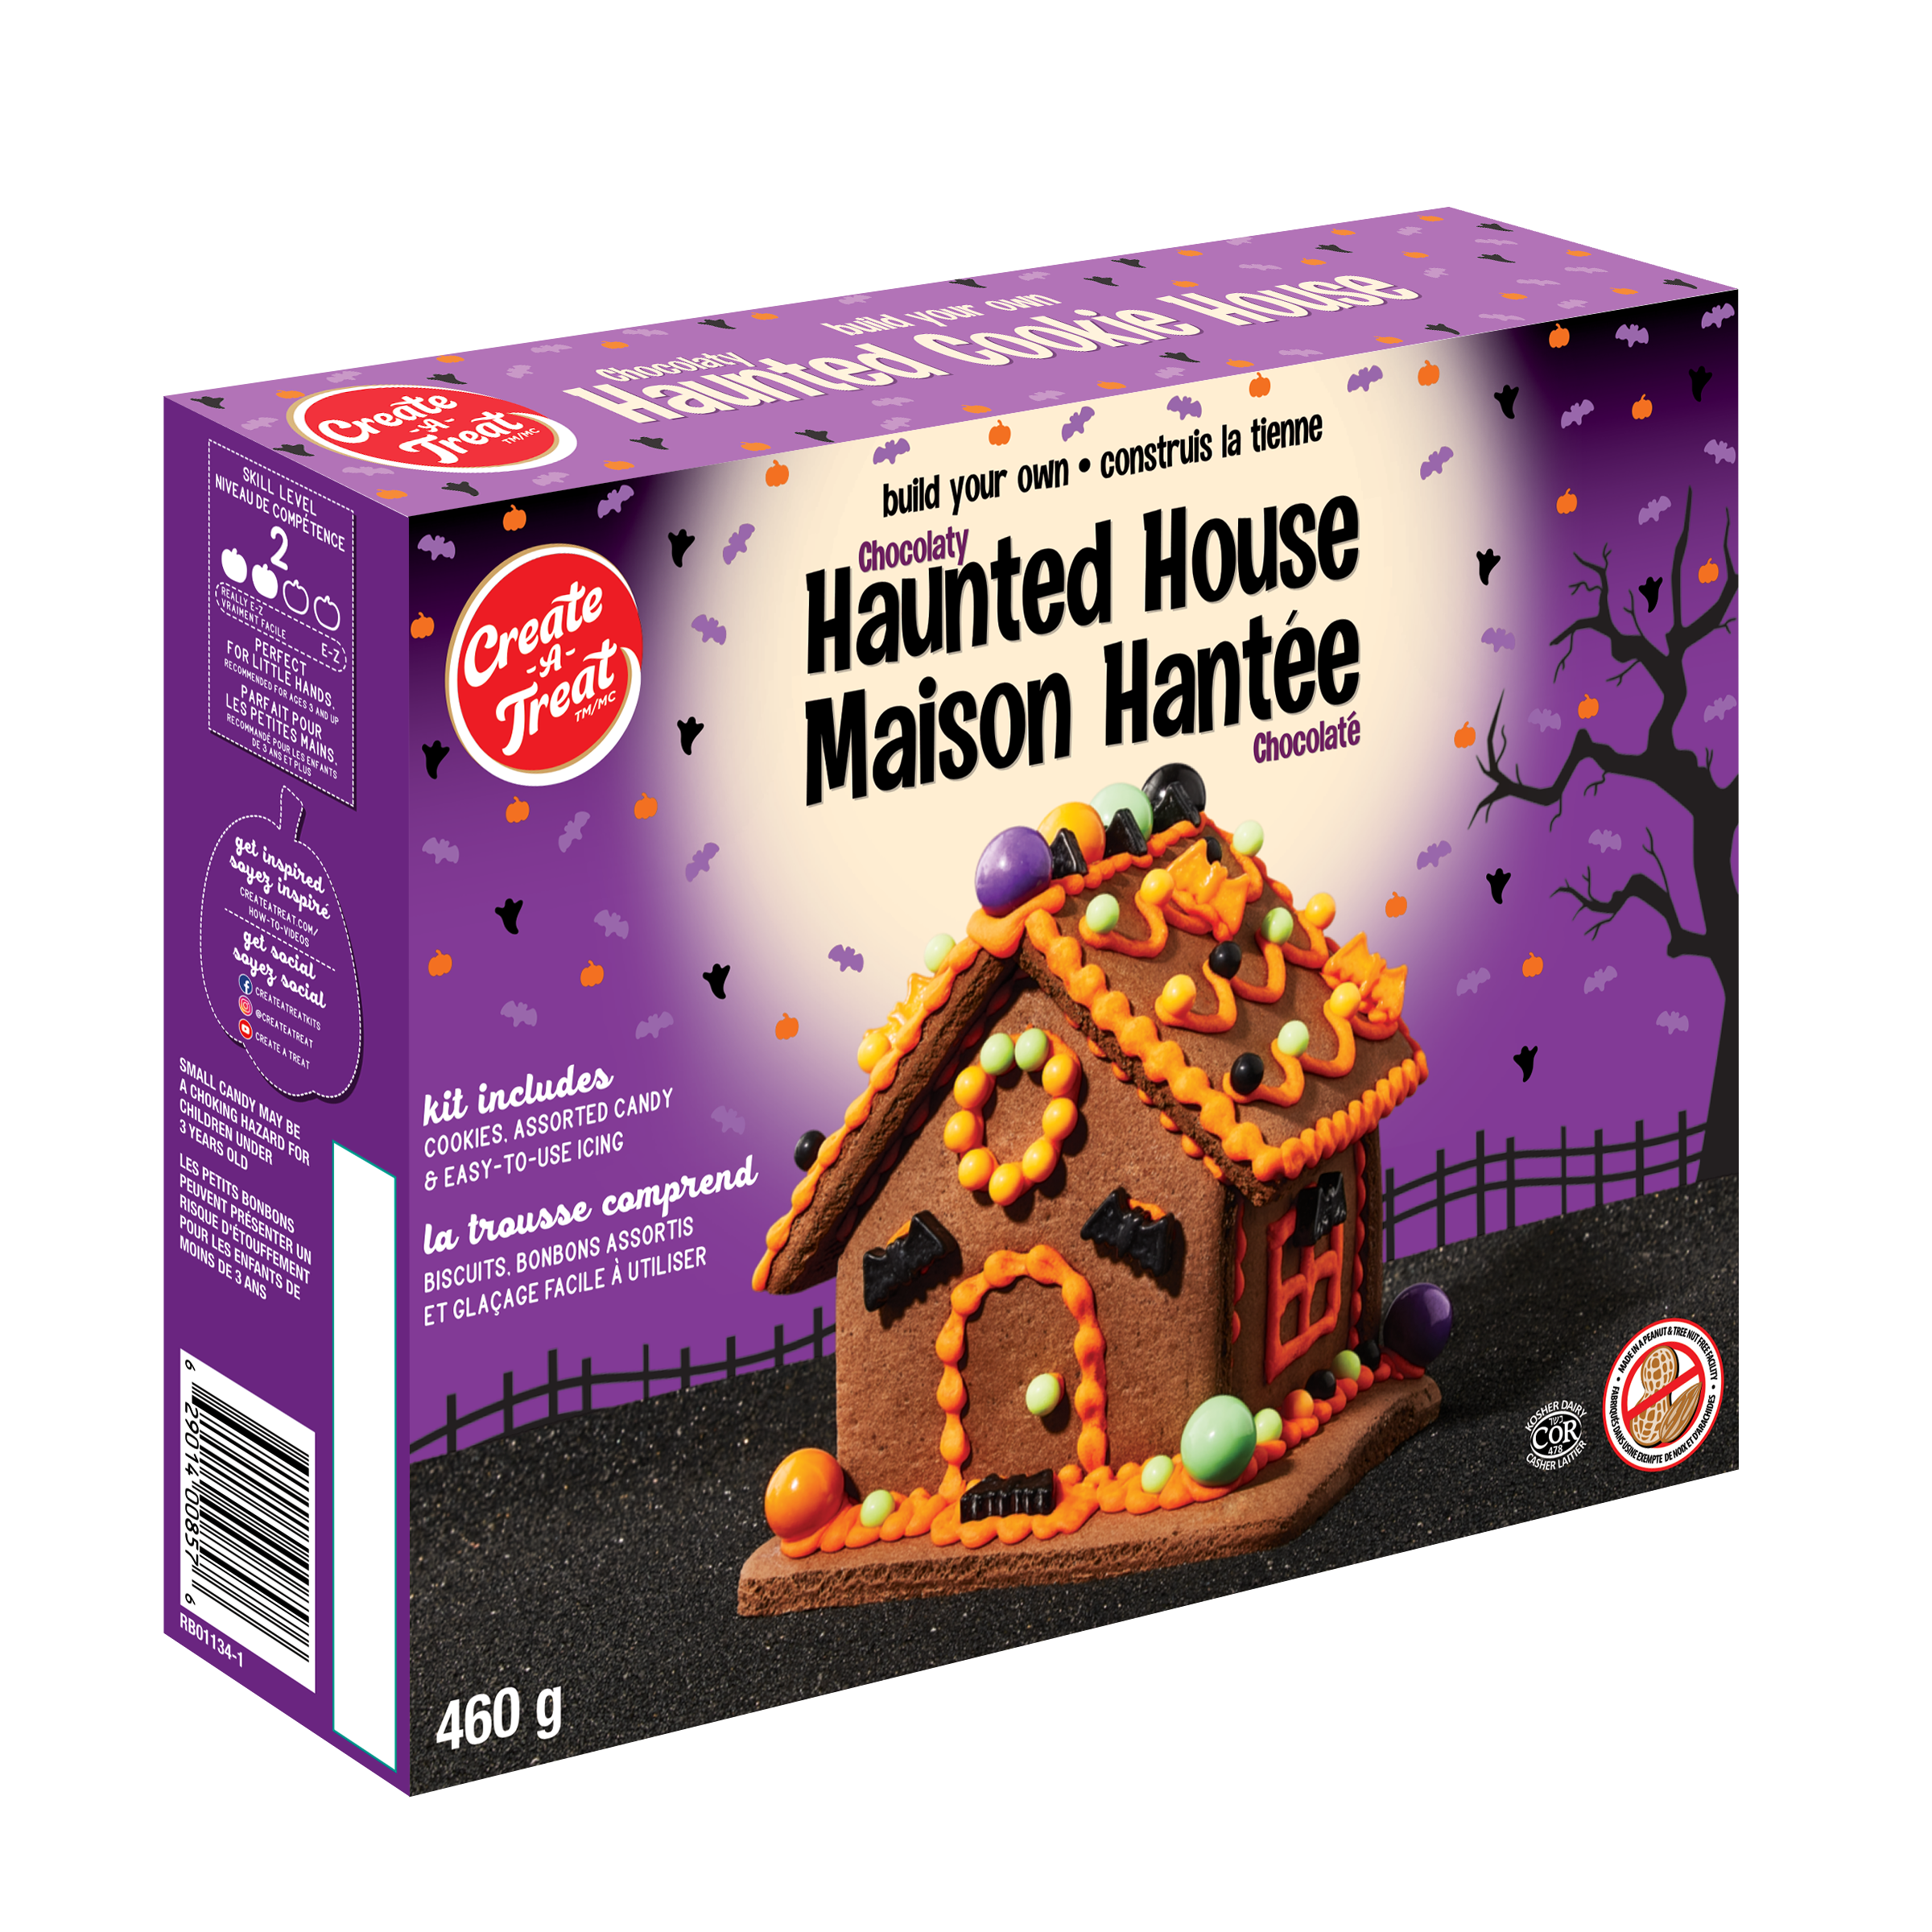
Haunted Chocolate House Cookie Kit

This Product Contains

Pre-Baked Cookies

Pre-Made Icing

Assortment of Candies

Step-By-Step

Step 1: ICING POUCH PREPARATION

Knead the icing pouch for 1-2 minutes bringing icing to room temperature and making it more adhesive. To start the flow of icing, remove the cap and snip the tip 1⁄4″ from the top of the tip. Be sure not to cut the opening too large. Your icing is now ready to use.

Step 2: ARRANGE PIECES FOR ASSEMBLY

Lay out house pieces on the table with the front and back panels face down. Pipe a thick line of icing on the base and along the edges of the front and back panels, as shown.

Step 3: ERECT WALLS

Place back panel of the house on base. Then press side wall up against icing strip on back panel. Repeat process with second side wall and then front panel. Adjust walls to create a good rectangle prior to putting on roof pieces.

Step 4: APPLY ICING TO HOUSE PEAKS

Pipe a thick line of icing along roof edges of front and back panels. Attach roof panels to house peaks and hold in place for one minute. Line a strip of icing down the middle of the roof sections to secure the two together. Hold in place for another minute while icing sets. Wait 15 minutes prior to decorating your house.

Step 5: DECORATE

Use icing and candies to decorate your house.

Barbie™ Cookie Dreamhouse™ Kit

Step-By-Step

Step 1: ICING PREPARATION:

Remove pre-made icing from kit. Knead / massage the icing pouch for 1-2 minutes bringing icing to room temperature and making it more adhesive CUTTING THE TIP: Remove cap and snip the tip 1/4″ from the end. Your icing is now ready for assembling the house.

PREPARATION DU GLACAGE: Retirez le glacage préparé de la trousse. Pétrissez et malaxez le sachet de glacage pendant 1 a 2 minutes jusqu’a ce que le glagage soit a temperature ambiante afin qu’il adhere mieux. COUPER LA POINTE : Retirez le bouchon et coupez la pointe a 1/4″ du bout. Votre glacage est maintenant prét pour l’assemblage de la maison.

Step 2: ARRANGE HOUSE PIECES FOR ASSEMBLY:

Lay pieces out on the table. Place front and back panels face down. Separate the house pieces by gently breaking along the snap lines between sections.

ARRANGER LES MORCEAUX DE LA MAISON POUR L’ASSEMBLAGE : Posez les pieces sur la table. Placez les panneaux avant et arriere la face vers le bas. Séparez les morceaux de la maison en les brisant délicatement le long des lignes, entre les sections.

Step 3: PREPARE THE FRAME:

Pipe a thick line of icing on front, back and side panels as shown. Cardboard pad can be used to build your house on adding icing at the bottom of the panels.

PREPARER LA CHARPENTE : Déposez une épaisse ligne de glacage sur les panneaux avant, arriere et latéraux, comme montré. Vous pouvez utiliser le plateau en carton pour construire votre maison en déposant une ligne de glacage sur le bas des panneaux.

Step 4: ERECTING WALLS OF HOUSE:

Place back panel of the house onto the base, then press a side wall up against it. Repeat process with second side wall and front panel. Adjust walls to create a good rectangle.

ERIGER LES MURS DE LA MAISON : lnsérez le panneau arriere de la maison dans la base, puis pressez le mur latéral contre le panneau arriere. Répétez avec le deuxieme mur latéral et le panneau avant. Ajustez les murs pour former un bon rectangle.

Step 5: APPLY ICING TO HOUSE PEAKS:

Pipe a thick line of icing along the roof edges of front and back panels.

APPLIOUER LE GLACAGE AUX CRETES DE LA MAISON : Déposez une épaisse ligne de glagage le long des bords du toit des panneaux arriere et avant.

Step 6: ADD ROOF:

Attach roof panels to house peaks and hold in place for one minute while icing sets.

AJOUTER LE TOIT : Attachez les panneaux du toit aux crétes de la maison et tenez en place pour une minute jusqu’a ce que le glagage durcisse.

Step 7: ASSEMBLE STAIRS:

Pipe icing on piece 4 and attach piece 2 and 3 and line them up as shown. You can use piece 1 as an additional step, or enjoy it as a tasty snack. Attach piece 5 and 6 to the sides as shown. lce the stairs to the front of the house.

ASSEMBLAGE DES MARCHES: Déposez une ligne de glagage sur la piece 4, fixez les pieces 2 et 3 et alignez—les, comme montré.Vous pouvez ajouter une autre marche en utilisant la piece 8 ou simplement la déguster comme collation. Fixez les pieces 5 et 6 sur les cOtés, comme montré. Avec du glacage, fixez les escaliers a l’avant de la maison.

Step 8: ASSEMBLE FLOWER BOX:

Pipe icing on back side of piece 8 and attach to back of piece 7. Ice the flower box to the front of the house. Wait 30 minutes prior to decorating your house.

ASSEMBLAGE DE LA BOITE A FLEURS : Déposez une ligne de glagage sur le cOté arriere de la piece 8 et collez-la au dos de la piece 7. Avec du glacage, fixez la boite a fleurs sur le devant de la maison. Attendez 30 minutes avant de décorer votre maison.

Step 9: ICING WRITER INSTRUCTIONS:

Carefully cut the end of the icing writer in small amounts, as shown above. Do not cut too large or you will lose detail when decorating.

INSTRUCTIONS POUR LE CRAYON DE GLACAGE : Coupez soigneusement le bout du crayon de glagage par petites entailles. Ne coupez pas trop grand, sinon vous perdrez de la precision lors de la decoration.

Step 10: READY TO DECORATE:

You are now ready to decorate your house!

PRETE A DECORER : Vous pouvez maintenant décorer votre maison!

OREO® E-Z Build® Cookie Train Kit

Step-By-Step

Step 1: ICING POUCH PREPARATION

Knead the icing pouch for 1-2 minutes bringing icing to room temperature and making it more adhesive. To start the flow of icing, remove the cap and snip the tip 1⁄4″ from the top of the tip. Be sure not to cut the opening too large. Your icing is now ready to use.

Step 2: ARRANGE PIECES FOR ASSEMBLY

Your train kit includes cookie pieces to build two cars and an engine. Separate the train pieces by gently breaking along the snap lines between sections.

Step 3: BUILDING THE ENGINE

Line the cavity for the engine with icing. Place a dot of icing on the center of two OREO cookies. Sandwich three cookies together and place in the EZ Build® Tray. Put a strip of icing along the short edge of the “cow catcher” and attach it to the front of the train.

Step 4: ASSEMBLE THE ENGINE

Pipe a strip of icing halfway up the edge of the engine walls and attach them. Pipe a strip of icing halfway up the back edge of the walls and attach a rounded end piece. Pipe strips of icing along the top edges of the walls. Add the roof. Attach each of the two wheels with a dot of icing.

Step 5: BUILDING THE CARS

Lay four walls of the first car on the table. The sides have two dots marked on them. Pipe icing in the cavity for this car. Pipe a strip of icing on the back edges of the ends as shown.

Step 6: ASSEMBLE THE CARS

Place one end on the base and press the side walls up against it. Attach the other end. Repeat with second car using the sides with a swirl marked on them. Attach remaining OREO cookie to the end of the train.

Step 7: ICING WRITER PREPARATION

Carefully cut the end of the writer, as shown.

Step 8: DECORATE

You are now ready to decorate your train! Decorate remaining cookie pieces as presents and place inside the cars once complete.

Spring Bunny House Cookie Kit

This Product Contains

Pre-baked Cookies

Pre-Made Icing

Assortment of candies

Step-By-Step

Step 1: Icing Pouch Preparation

Knead the icing pouch for 1-2 minutes bringing icing to room temperature and making it more adhesive. To start the flow of icing, remove the cap snip 1/4 from the top of the tip. Be sure not to cut the opening too large. Your icing is now ready to use.

Step 2: Arrange house pieces for assembly

Lay out house pieces on table with the front and back panels face down. Pipe a zigzag of icing along the edges of the front, back and side panels, as shown.

Step 3: Erect Walls

Place back panel of house onto the cookie base. Then press side wall up against icing strip on back panel. Repeat process with second side wall and then front panel. Adjust walls to create a good rectangle prior to putting on roof pieces.

Step 4: Add the roof

Pipe a zigzag of icing along roof edges of front and back panels. Attach roof panels to house peaks and hold in place for one minute.

Step 5: Apply icing between roof pieces

Pipe a zigzag of icing between roof pieces. Hold in place for another minute while icing sets. Wait 15 minutes prior to decorating your house.

Step 6: Bunny Assembly

Separate the stands from the bunnies. Attach stands to the back of the bunnies with icing. Let dry for 2 minutes.

Step 7: Decorate

You are now ready to decorate your house and bunnies.