Product Category: Cookie Kits
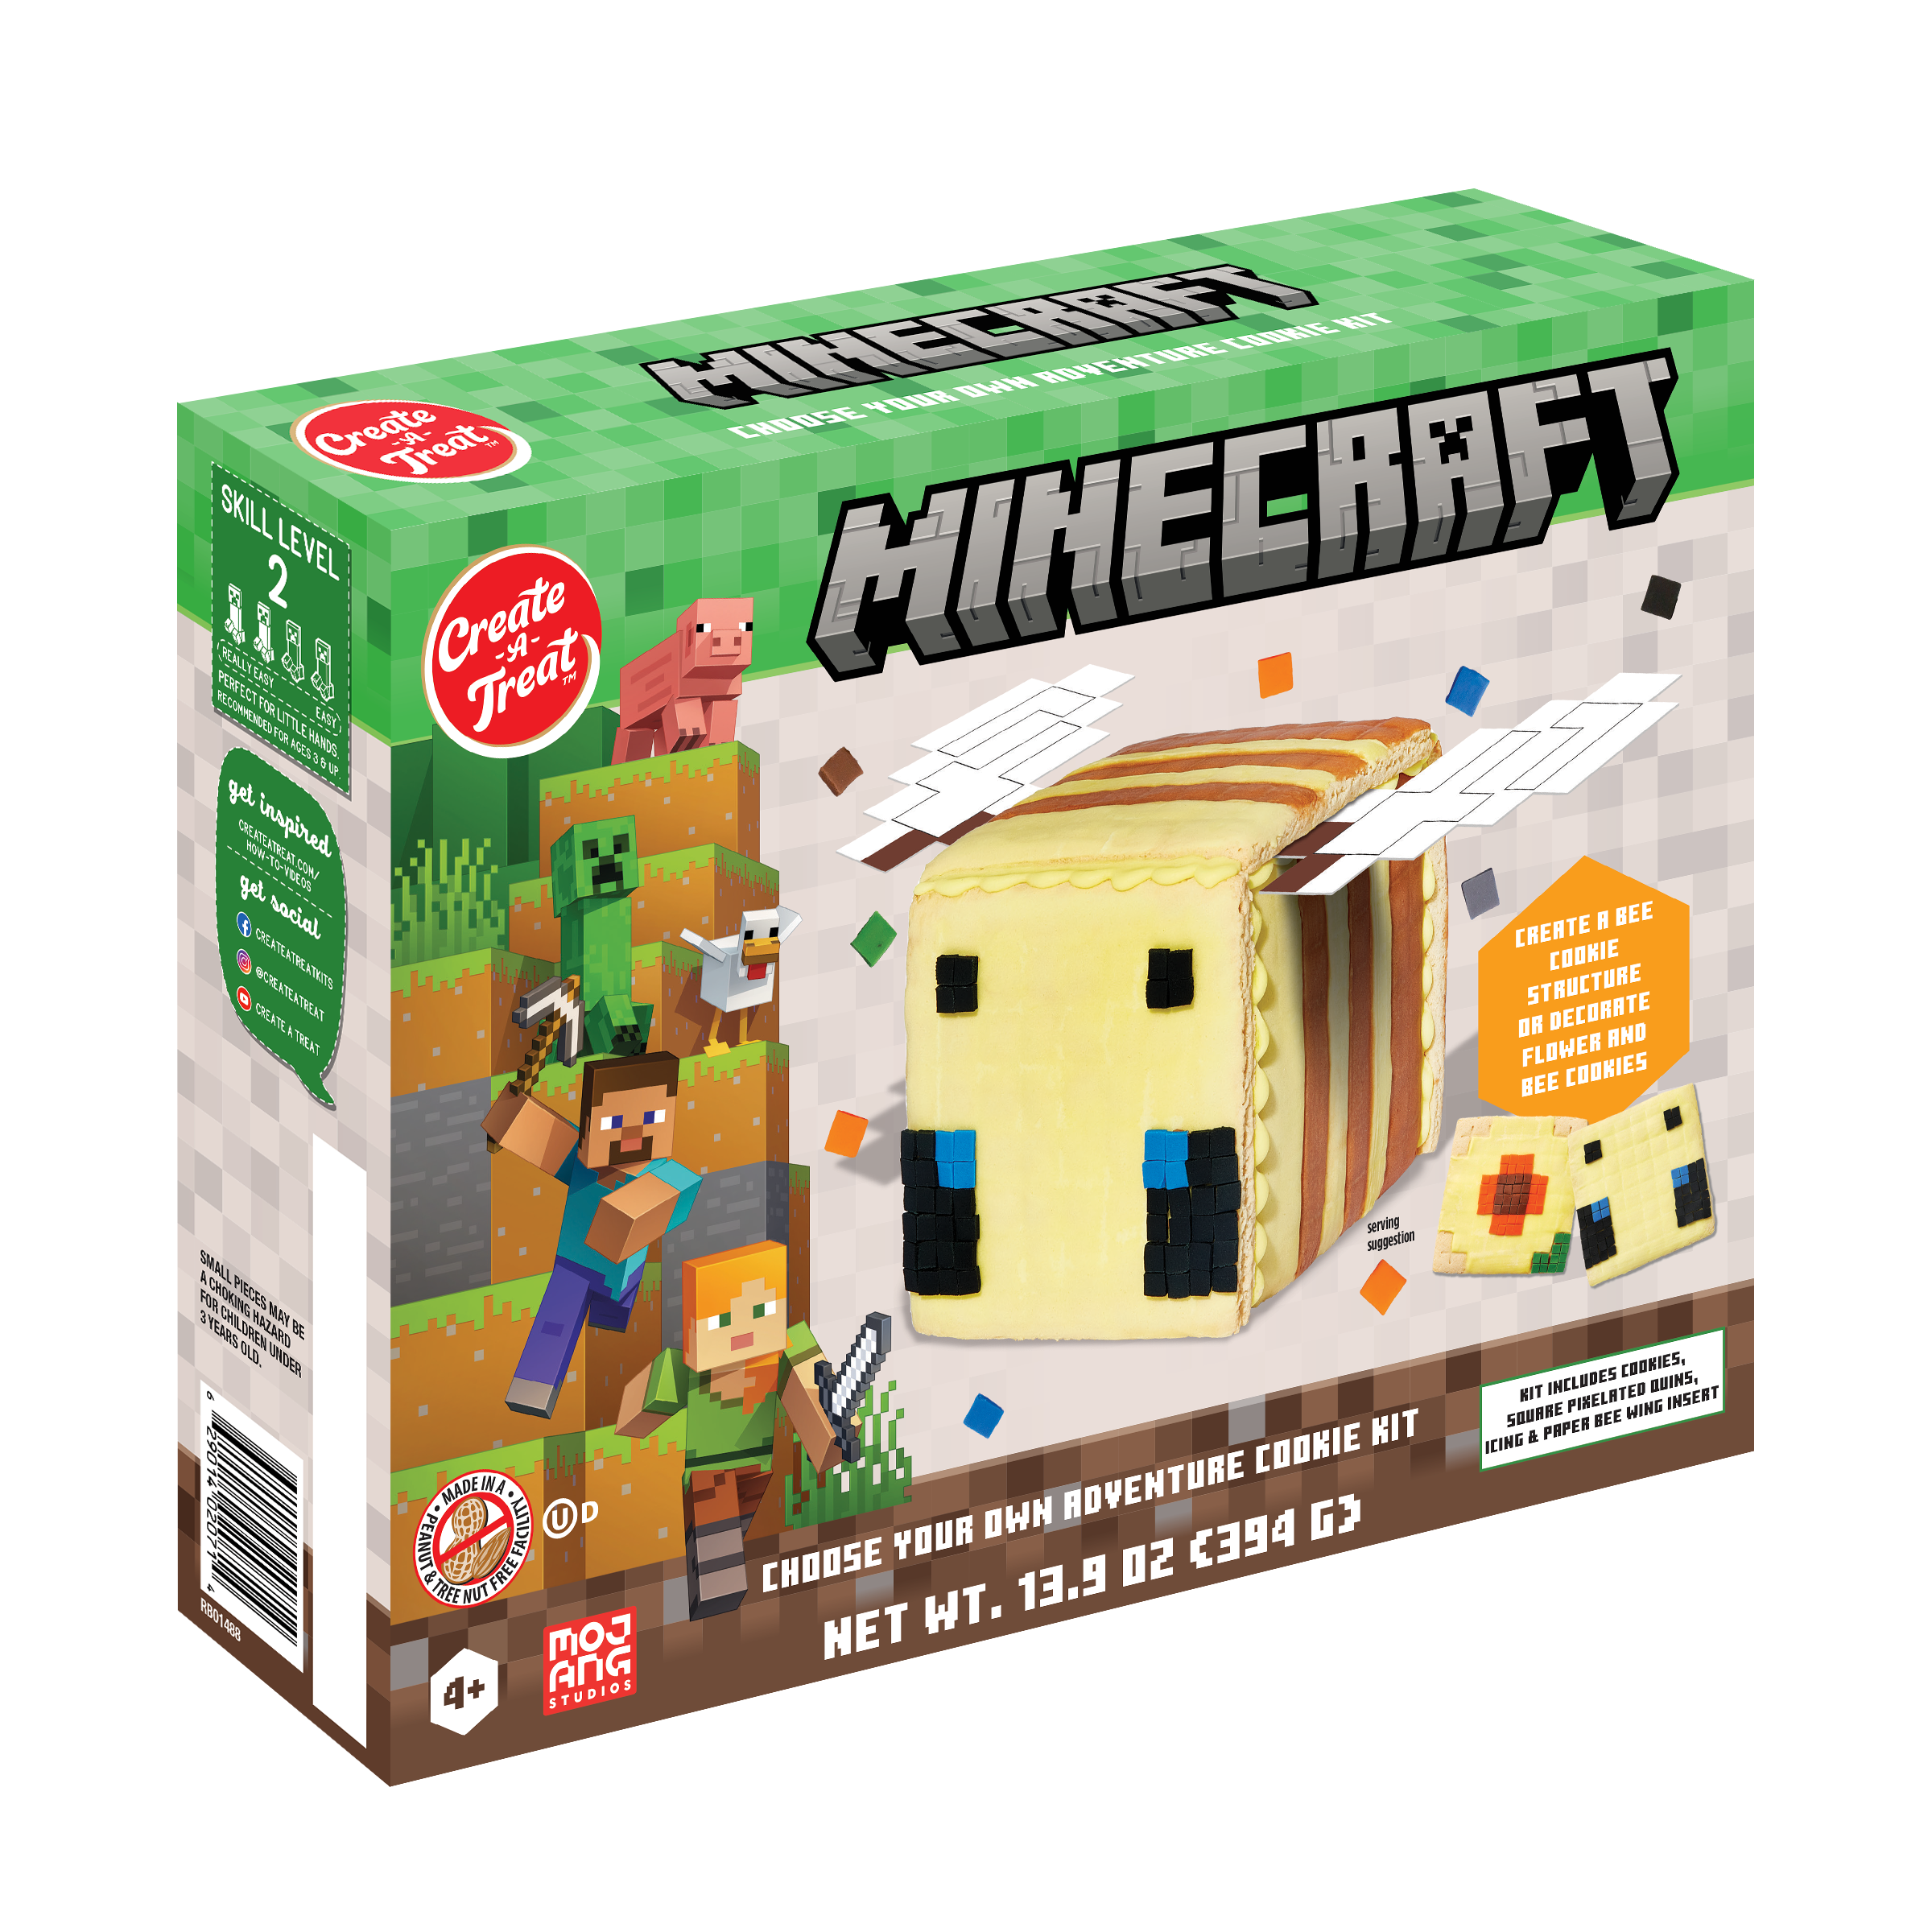
Minecraft Adventure Cookie Kit
Pre-baked Cookies
Pre-Made Icing
Assortment of candies
Step-By-Step
Step 1: Icing Pouch Preparation
Knead the icing pouch for 1-2 minutes bringing icing to room temperature and making it more adhesive. To start the flow of icing, remove the cap snip 1/4 from the top of the tip. Be sure not to cut the opening too large. Your icing is now ready to use.
Step 2: Icing Pouch Preparation
Knead the icing pouch for 1-2 minutes bringing icing to room temperature and making it more adhesive. Cut a small opening at a corner and gently squeeze.
Step 3: Wings
For the structure, carefully pop out the perforated paper wings, and gently bend along the fold line.
Step 4: Apply icing
Lay bee cookies on the table with 2 lying face down (these will become your front and back). To ensure there is enough icing to stick the pieces, pipe a zigzag of icing along the edges of the front and back cookies.
Step 5: Assemble
Place back cookie onto the pad, then press side cookie up against icing on back panel. Repeat process with second side cookie, then front cookie. Adjust to create a good square prior to putting on top cookie.
Step 6: Add Wings
Pipe a zigzag of icing along the top edge of structure, then place wings with the folded inside piece inside the structure, and the wings pointing out, as shown.
Step 7: Add Top piece
Attach top cookie piece. Wait 15 minutes for icing to set prior to decorating your bee.
Step 8: Decorate
You are now ready to decorate your bee!
Note: Using candy and icing, create your own bee or flower, or create your very own by following steps 1, 2 and 8.
Minecraft Pixelated Cookie Kit, 4ct

Pre-baked Cookies
Pre-Made Icing
Assortment of candies
Step-By-Step
Step 1: Icing Pouch Preparation
Knead/massage the icing pouch for 1-2 minutes bringing icing to room temperature and making it more adhesive. Cut a small opening and gently squeeze.
Step 2: Icing Writer Preparation
Carefully cut the end of the writer, as shown.
Step 2: Decorate
Using candy and icing, create your favorite Minecraft characters.
Holiday Santa & Tree Cookie Kit, 10ct

Pre-baked Cookies
Pre-Made Icing
Assortment of candies
Celebration Cookie Kit (New Year’s Eve), 10ct

Pre-baked Cookies
Pre-Made Icing
Assortment of candies
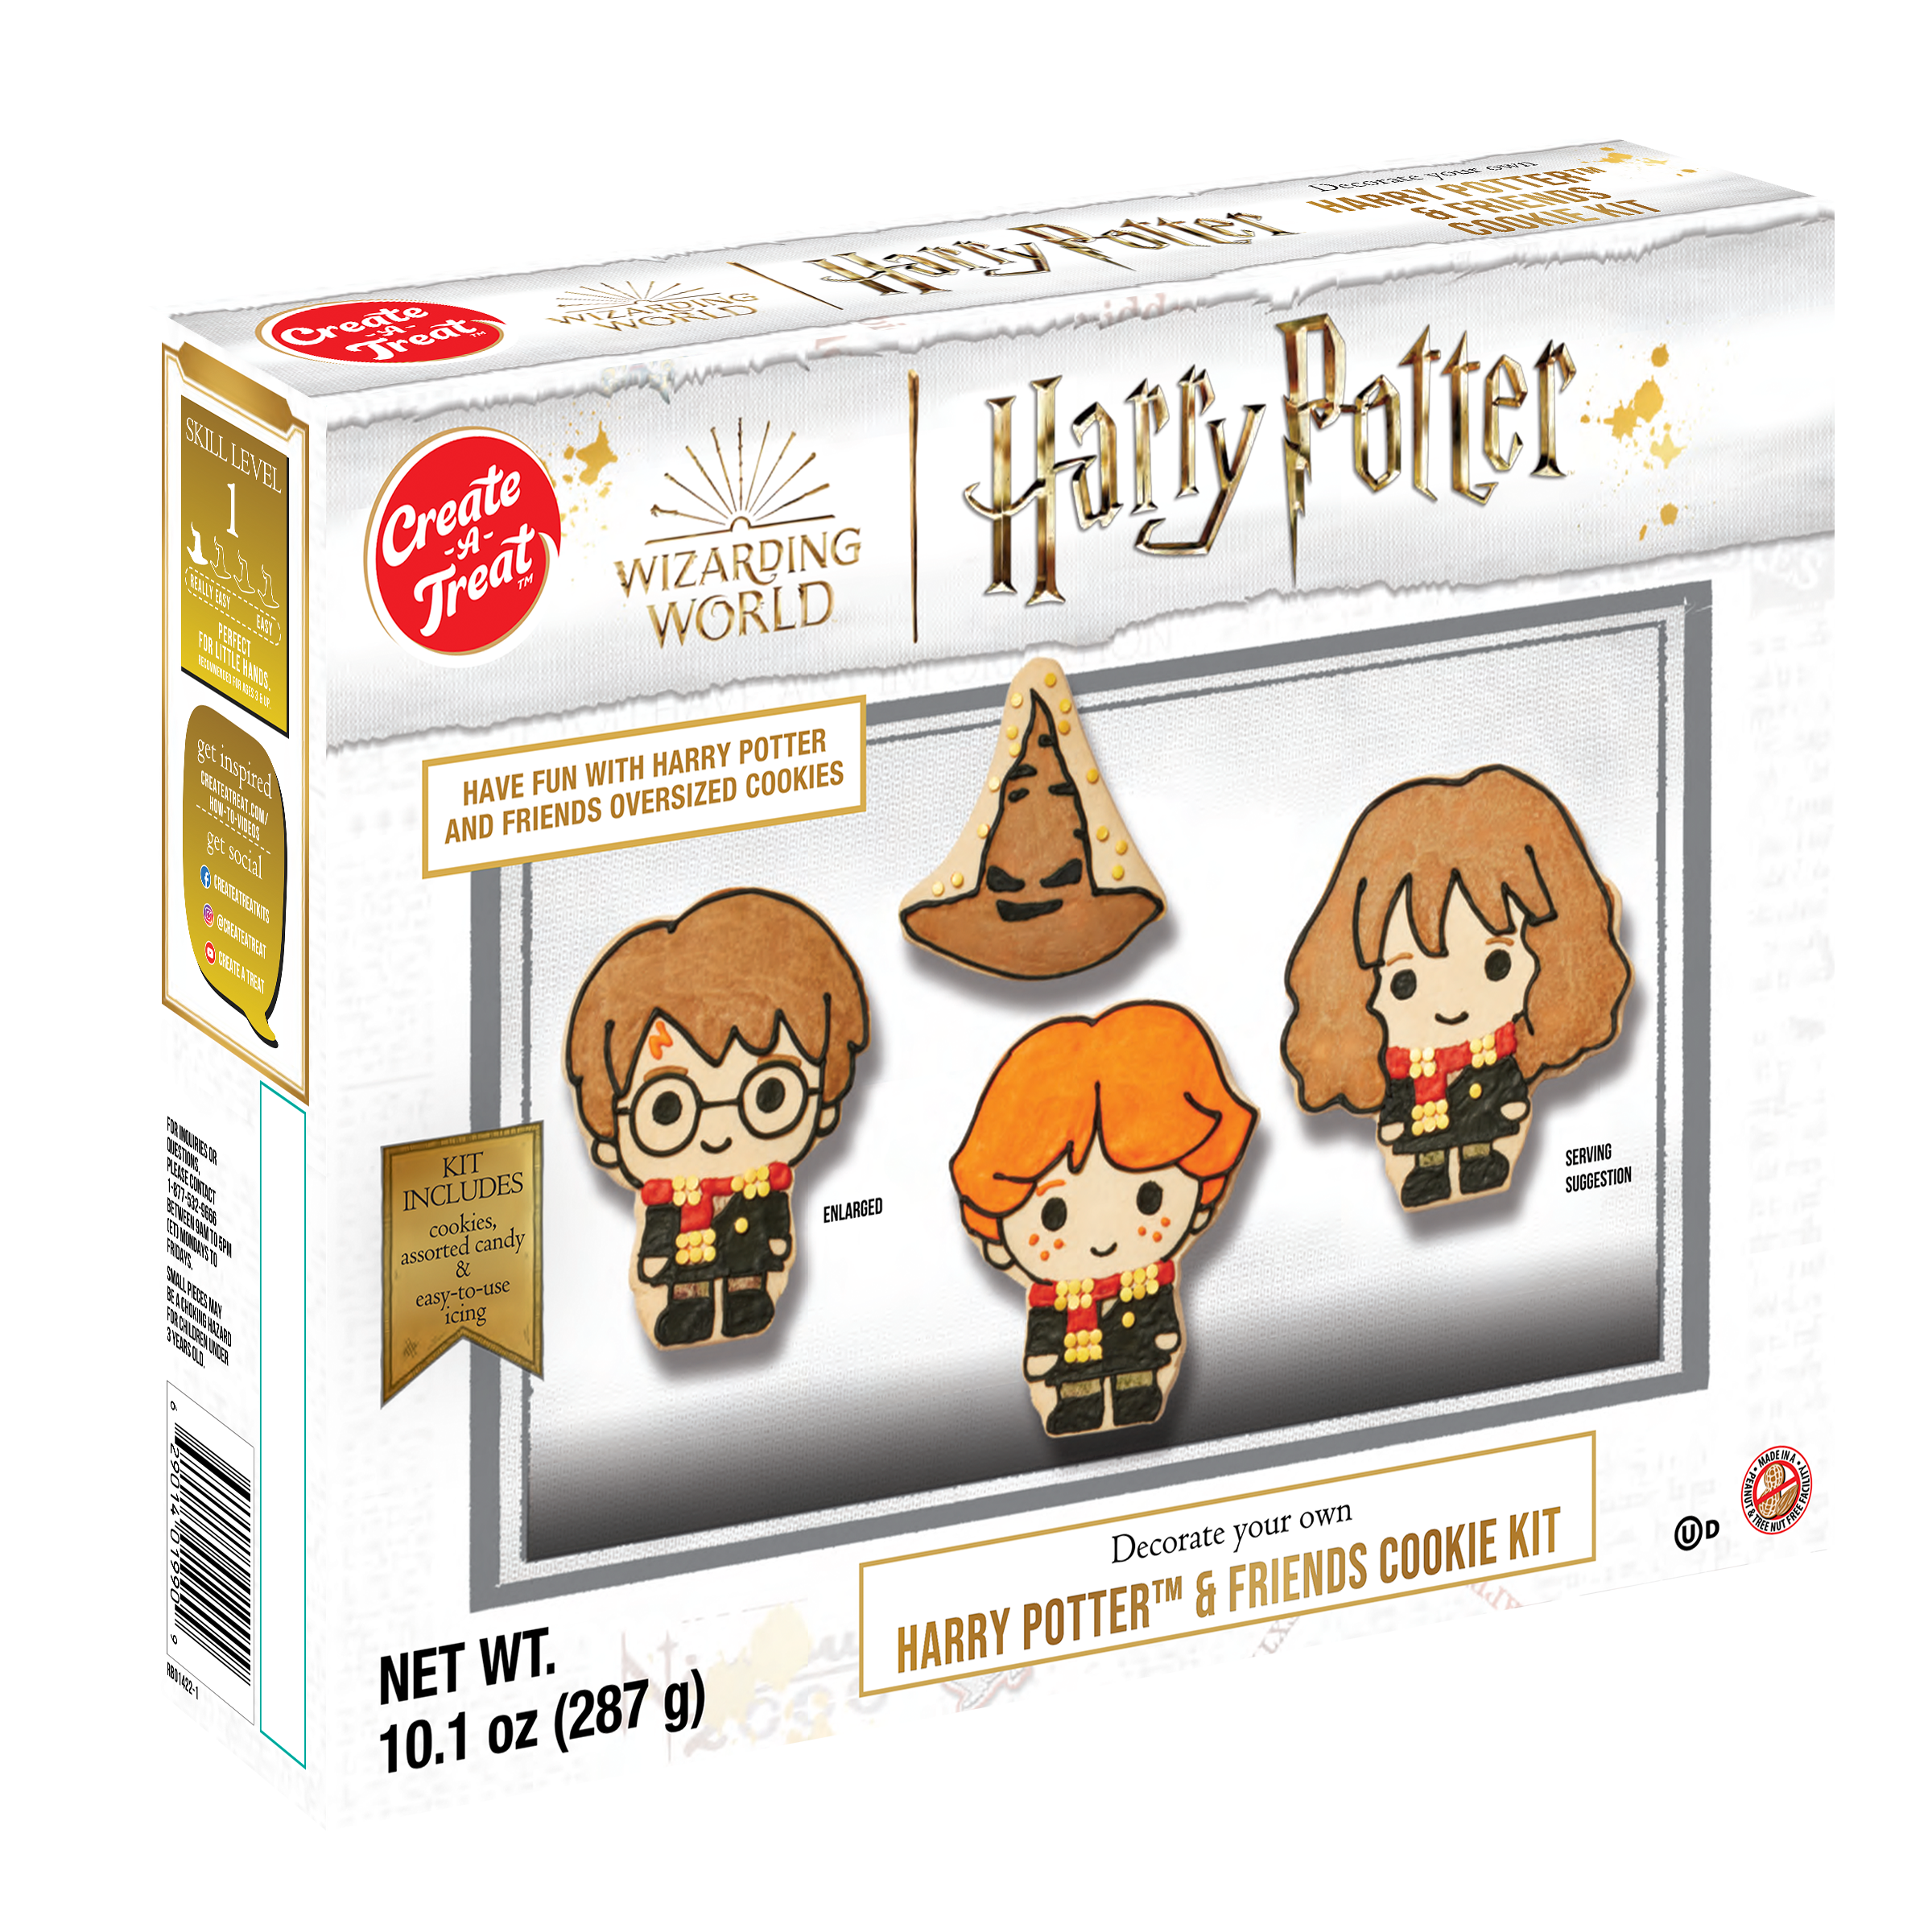
Harry Potter & Friends Cookie Kit
Pre-baked Cookies
Pre-Made Icing
Assortment of candies
Step-By-Step
Step 1: ICING WRITER PREPARATION:
Carefully cut the end of the writer, as shown included in the cookie kit.
Step 2: DECORATE:
You are now ready to decorate your cookies!
National Lampoons Christmas Vacation Cookie Kit

Pre-baked Cookies
Pre-Made Icing
Assortment of candies
Step-By-Step
Step 1: ICING PREPARATION:
Remove pre-made icing from kit. Knead / massage the icing pouch for 1-2 minutes bringing icing to room temperature and making it more adhesive. CUTTING THE TIP: Remove cap and snip the tip 1/4″ from the end. Your icing is now ready to use with your cookie kit.
Step 2: ICING WRITER PREPARATION:
Carefully cut the end of the writer, as shown.
Step 3: DECORATE:
Separate the stand pieces by gently breaking along the snap lines between sections. You are now ready to decorate your Griswold House, RV and Car! Allow to dry before assembly.
Step 4: ASSEMBLE HOUSE:
Pipe a zigzag of icing along the edge of the long stands and attach to the back of the house as shown. Attach the garage to the right stand piece with icing.
Step 5: ADD STANDS:
Attach stands, the RV and Car with icing. Continue decorating as desired.
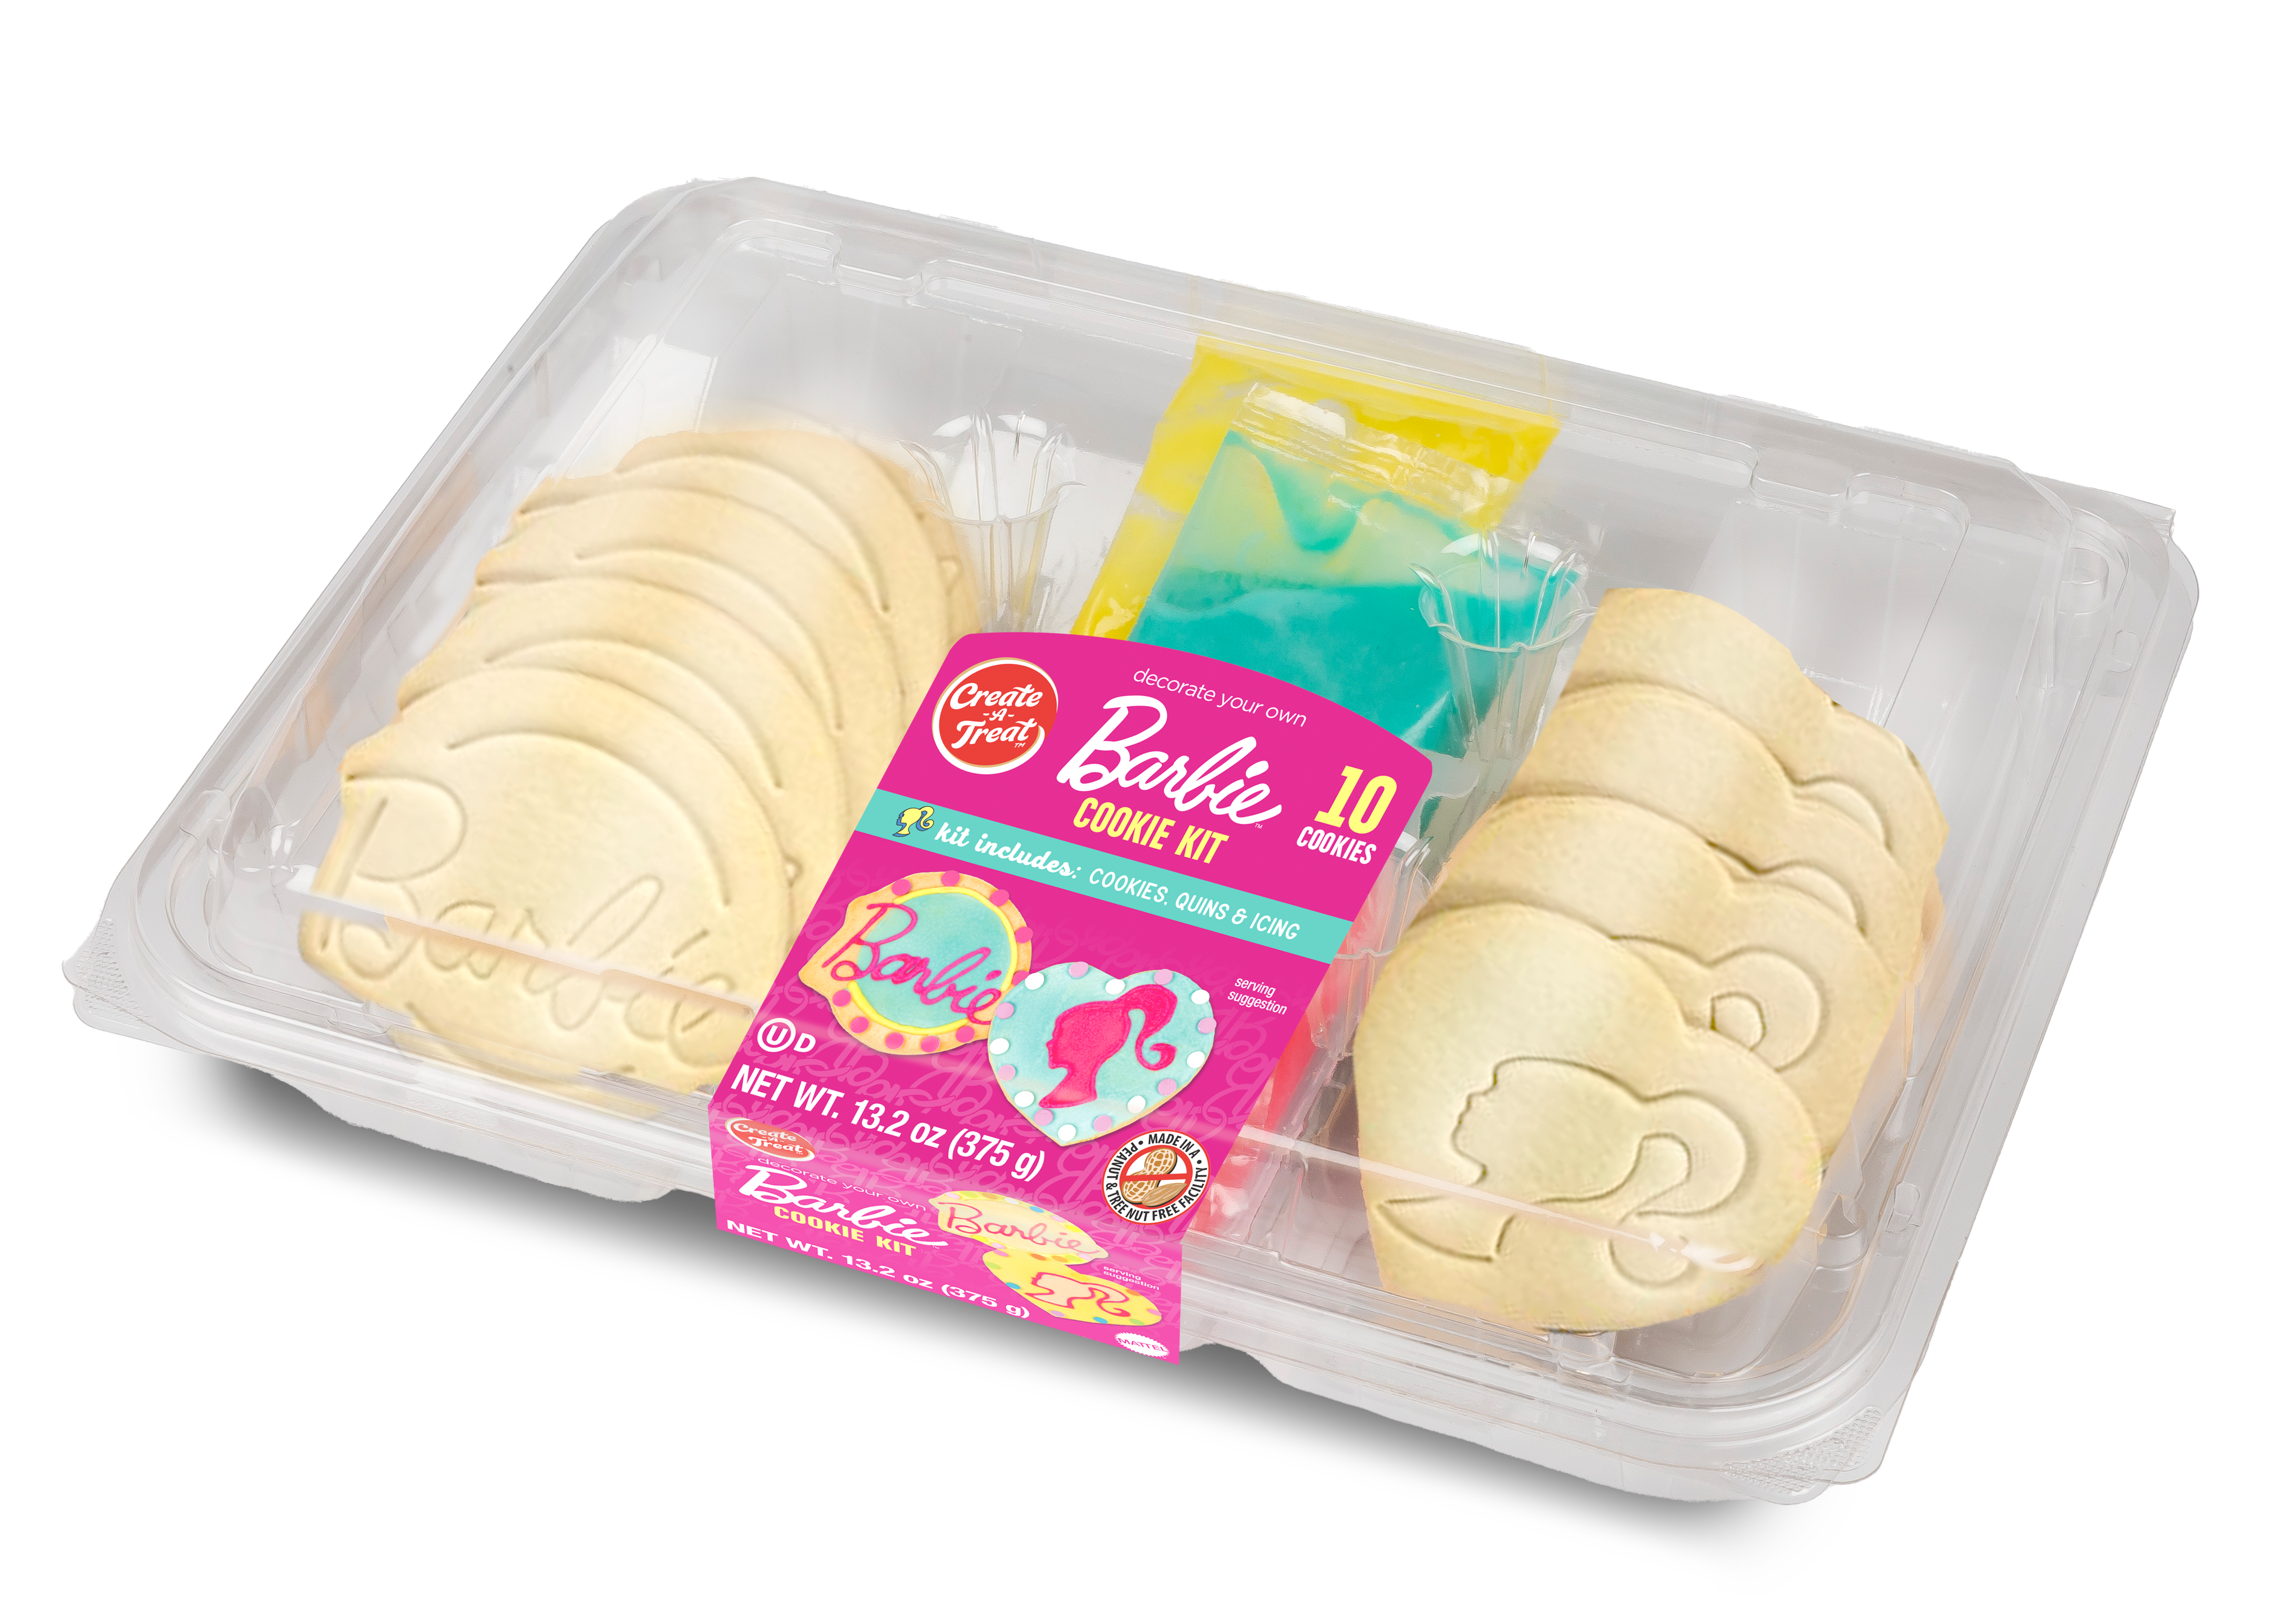
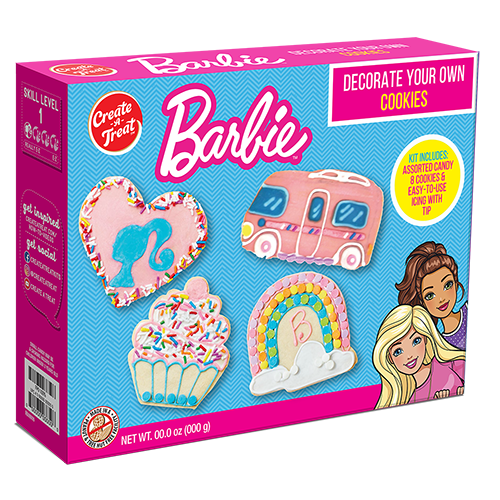
Barbie™ Cookie Kit, 8ct
Step-By-Step
Step 1: ICING TUBE INSTRUCTIONS:
Carefully cut the end of the icing tube in small amounts, as shown above. Do not cut too large or you will lose detail when decorating. You are now ready to decorate your cookies!